When using hand-held launcher 1000 safety guidelines should be followed at all times. C-Astral cannot be held responsible for any damages occurred due to misuse or use of damaged equipment. Damages due to misuse or damaged launcher could be severe to the UAV or the operator. To operate safely follow the instructions below.
IMPORTANT: Before every flight, inspect the string, the lim and the UAV seating for any kind of damage.
IMPORTANT: Do not step in front of the hand-held launcher when armed.
IMPORTANT: Do not release the launcher without the UAV seated.
IMPORTANT: Modified or repaired launchers without C-Astral permission are unsafe to use.
Proper setting up will ensure correct launch. The procedure described below must be done carefully and followed step by step. Only this procedure is correct and approved by C-Astral.
NOTE: Please follow the steps below in the exact order in which they are listed.
IMPORTANT: Use only undamaged launcher and inspect it for possible damages before use.
 Setting HH 1000 - Unlock release. |
1. Unlock the release button located on the bow section of the hand-held launcher. |
 Setting HH 1000 - Attach the bow. |
2. Attach the bow section to the gun as shown in the picture |
 Setting HH 1000 - Rotate the bow. |
3. Rotate the bow section for 90 degrees and push it closer together. |
 Setting HH 1000 - Lock the release. |
4. Lock the release button. |
 Setting HH 1000 - Place UAV seating. |
5. Put the UAV seating between the gun frame and bearings.
|
 Setting HH 1000 - Lock the release. |
6. Lift the sting and slide the UAV seating under it. Then release it into the grove as shown in the picture. |
 Setting HH 1000 - Selector in release position. |
7. Put the selector button in the RELEASE position. If needed apply pressure on the leaver in a clockwise direction to release the tension on the selector. |
 Setting HH 1000 - Releasing the release mecanism. |
8. Press the brown button and at the same time press the blue button to unlock the release mechanism. |
 Setting HH 1000 - Releasing the release mechanism. |
Slide release mechanism forward. |
 Setting HH 1000 - Release mechanism to string. |
9. Move the release mechanism to the string. |
 Setting HH 1000 - Click the release mechanism into place. |
10. Hold the back of the release mechanism with your thumb and pull the string into the holding mechanism with other fingers. When you hear “CLICK”, the string is secured. |
 Setting HH 1000 - Safety ON. |
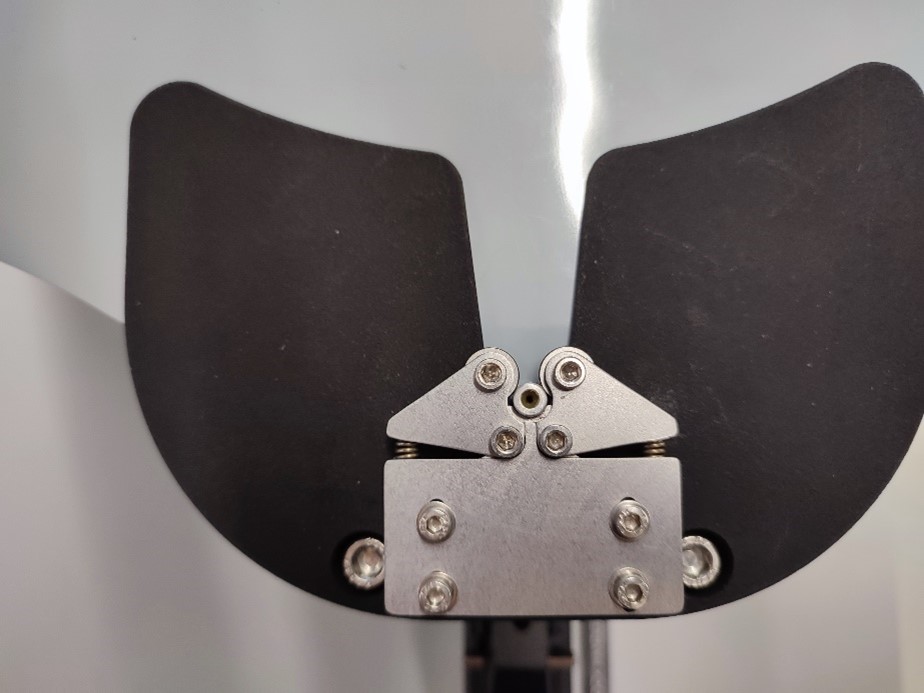
11.Put SAFETY PIN in a SAFE position. You need to see a GREEN dot instead of a red one. IMPORTANT: Since now, the gun MUST BE in a safe position till the launch. |
 Setting HH 1000 - Arming the launcher. |
12. Push the selector in crank position and rotate the lever clockwise to arm the launcher. |
 Setting HH 1000 - Fully armed. |
13. When the launcher is fully armed, you must hear “CLICK”. |
 Setting HH 1000 - Store arming leaver. |
14. Detach the leaver and put it back on the holder. |
 Setting HH 1000 - Extend the arm rest. |
15. Loosen the hand screws on the stock and pull it out. Then tighten the screw to secure the armrest. |
 Setting HH 1000 - Extend the cheek pad. |
16. Loosen the hand screw on the cheek pad, move it to the desired position and tighten it back. |
 Setting HH 1000 - Placing the UAV. |
17. Hold the gun with your hand and with your other hand hold the UAV like in the picture. |
 Setting HH 1000 - Locking the UAV. |
18. Attach the UAV to the holder. Ensure that the front hooks on the UAV slide on the front holders and the back of the airplane slide in the back holder. |
 Setting HH 1000 - Locking the UAV. |
The holding pin on the back of the UAV must slide in the holding mechanism.
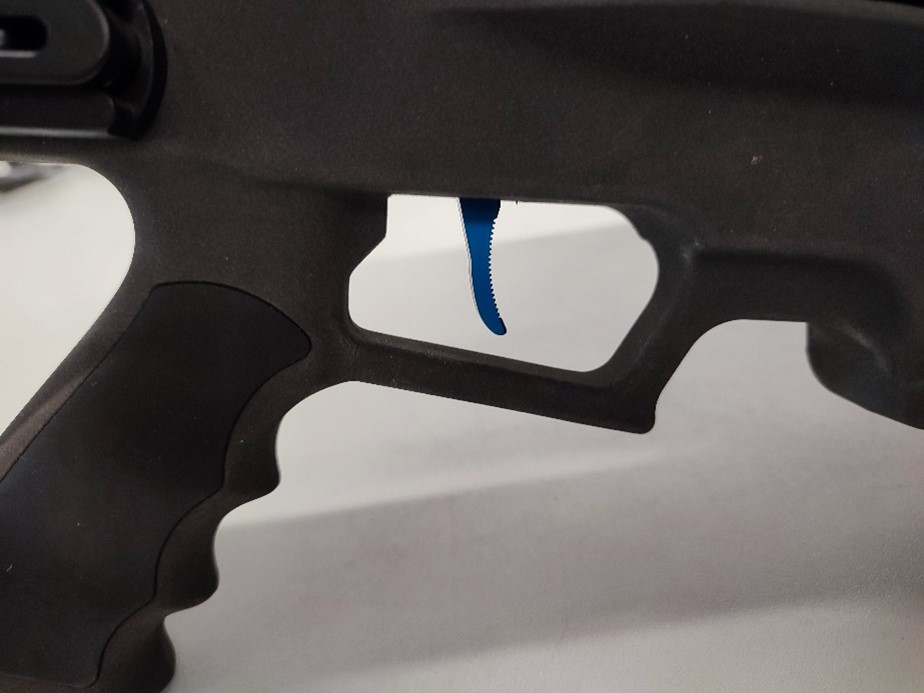
The holding mechanism holds the UAV in the holder until the trigger is released. |
 Setting HH 1000 - Launching the UAV. |
19. Press takeoff in C3P software.
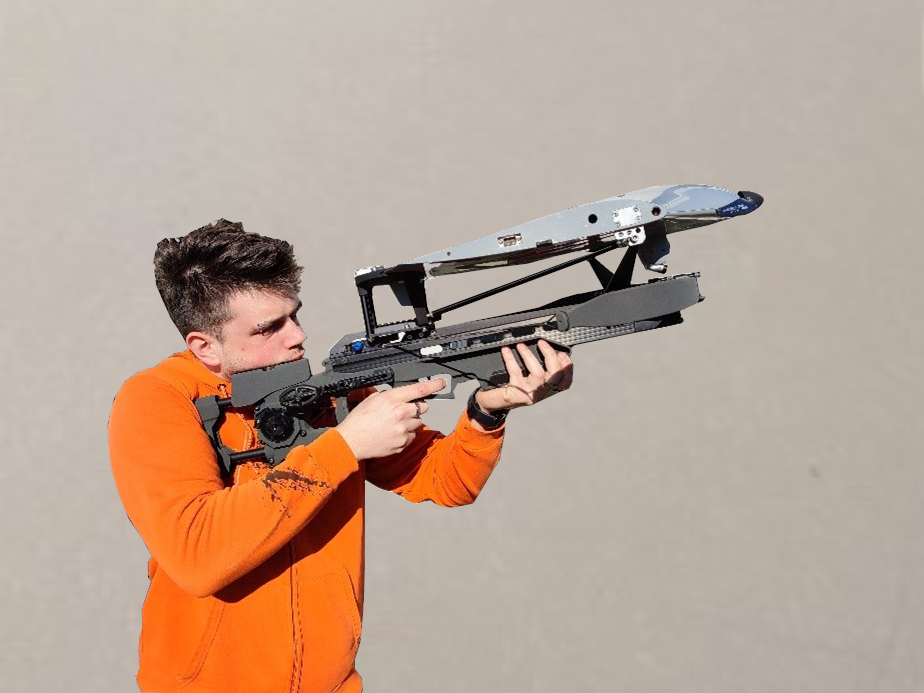
Hold the gun like in the picture and RELEASE the SAFETY PIN.
|
 Setting HH 1000 - Launching the UAV. |
The launcher must be tilted upwards for 15 degrees.
When tilted, countdown in C3P will begin. After the count, the motor will first apply 20% thrust and after 100% power. |
 Setting HH 1000 - Launching the UAV. |
NOTE: Countdown will stop if you lower the angle of the UAV. When you tilt it back up, the countdown will begin again. |
