
Atlas UAV uses three Lithium Ion batteries in the UAV. A main battery in the front and two rear batteries.
Main battery has 4S2P configuration and the capacity of 6000 mAh. For charging use max current 4A.
Rear batteries have 2S2P configuration and when plugged in the UAV serve as 4S1P. Capacity of rear batteries is 5000 mAh. For charging use max current 4A.
Charging steps
NOTE: Please follow the steps below in the exact order in which they are listed.
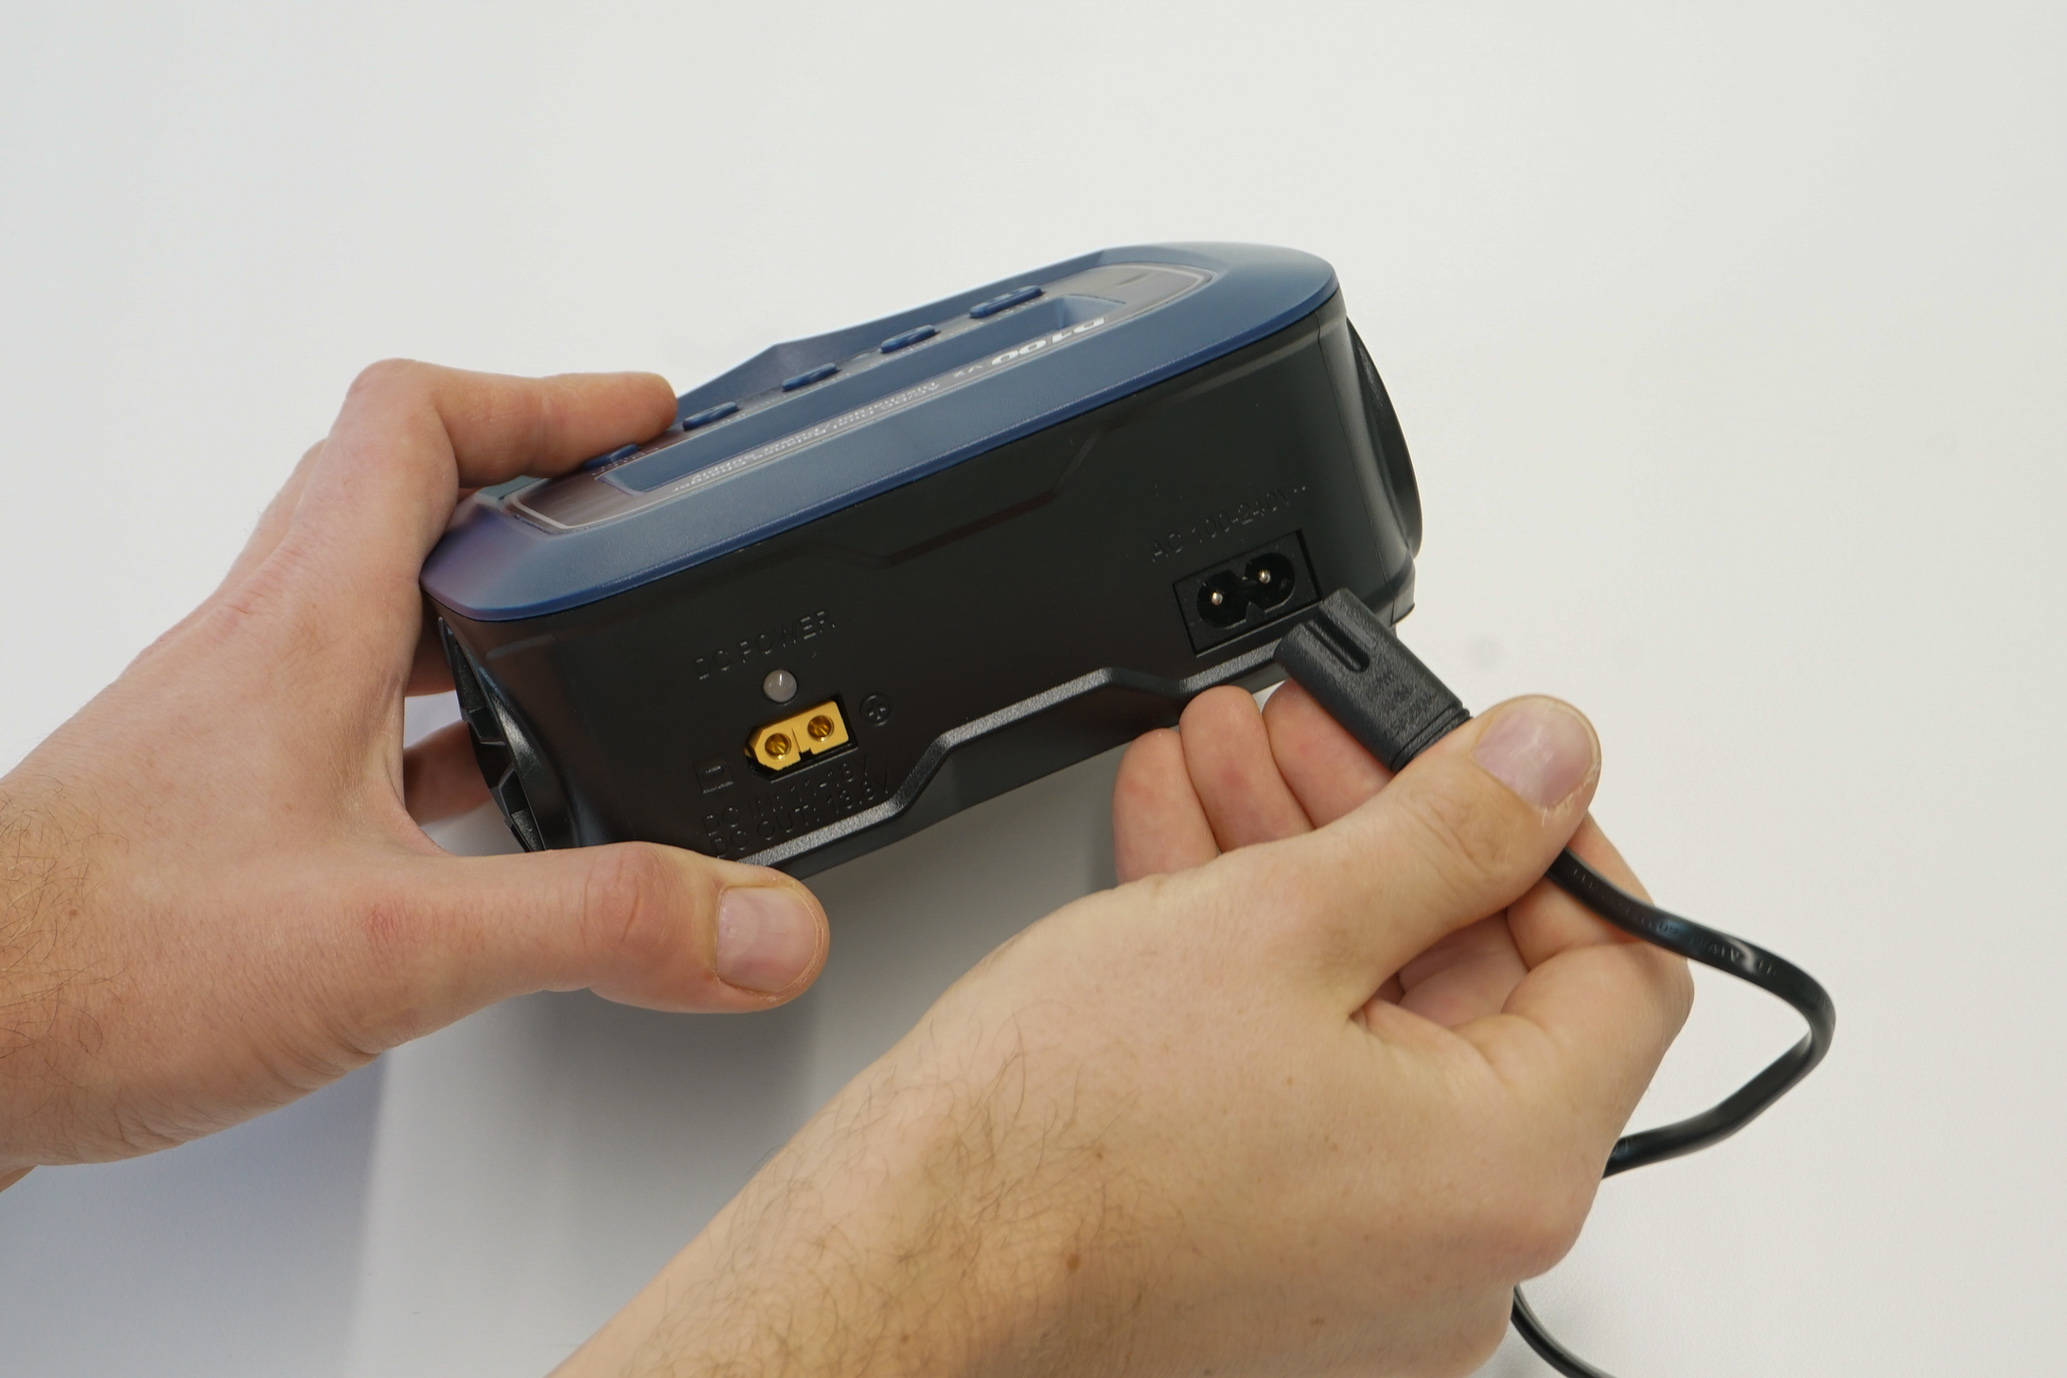 Charging UAV batteries - Powering the charger. |
1. POWER ON THE CHARGER Insert the AC power cord into the charger and insert the power cord into the AC socket. (100 V-220 V, 50/60 Hz). The battery charger goes through the initialization procedure and when it's ready a voice message will be state that the charger is ready. IMPORTANT: Always power ON the charger before connecting a battery or damage to the charger or battery can result. |
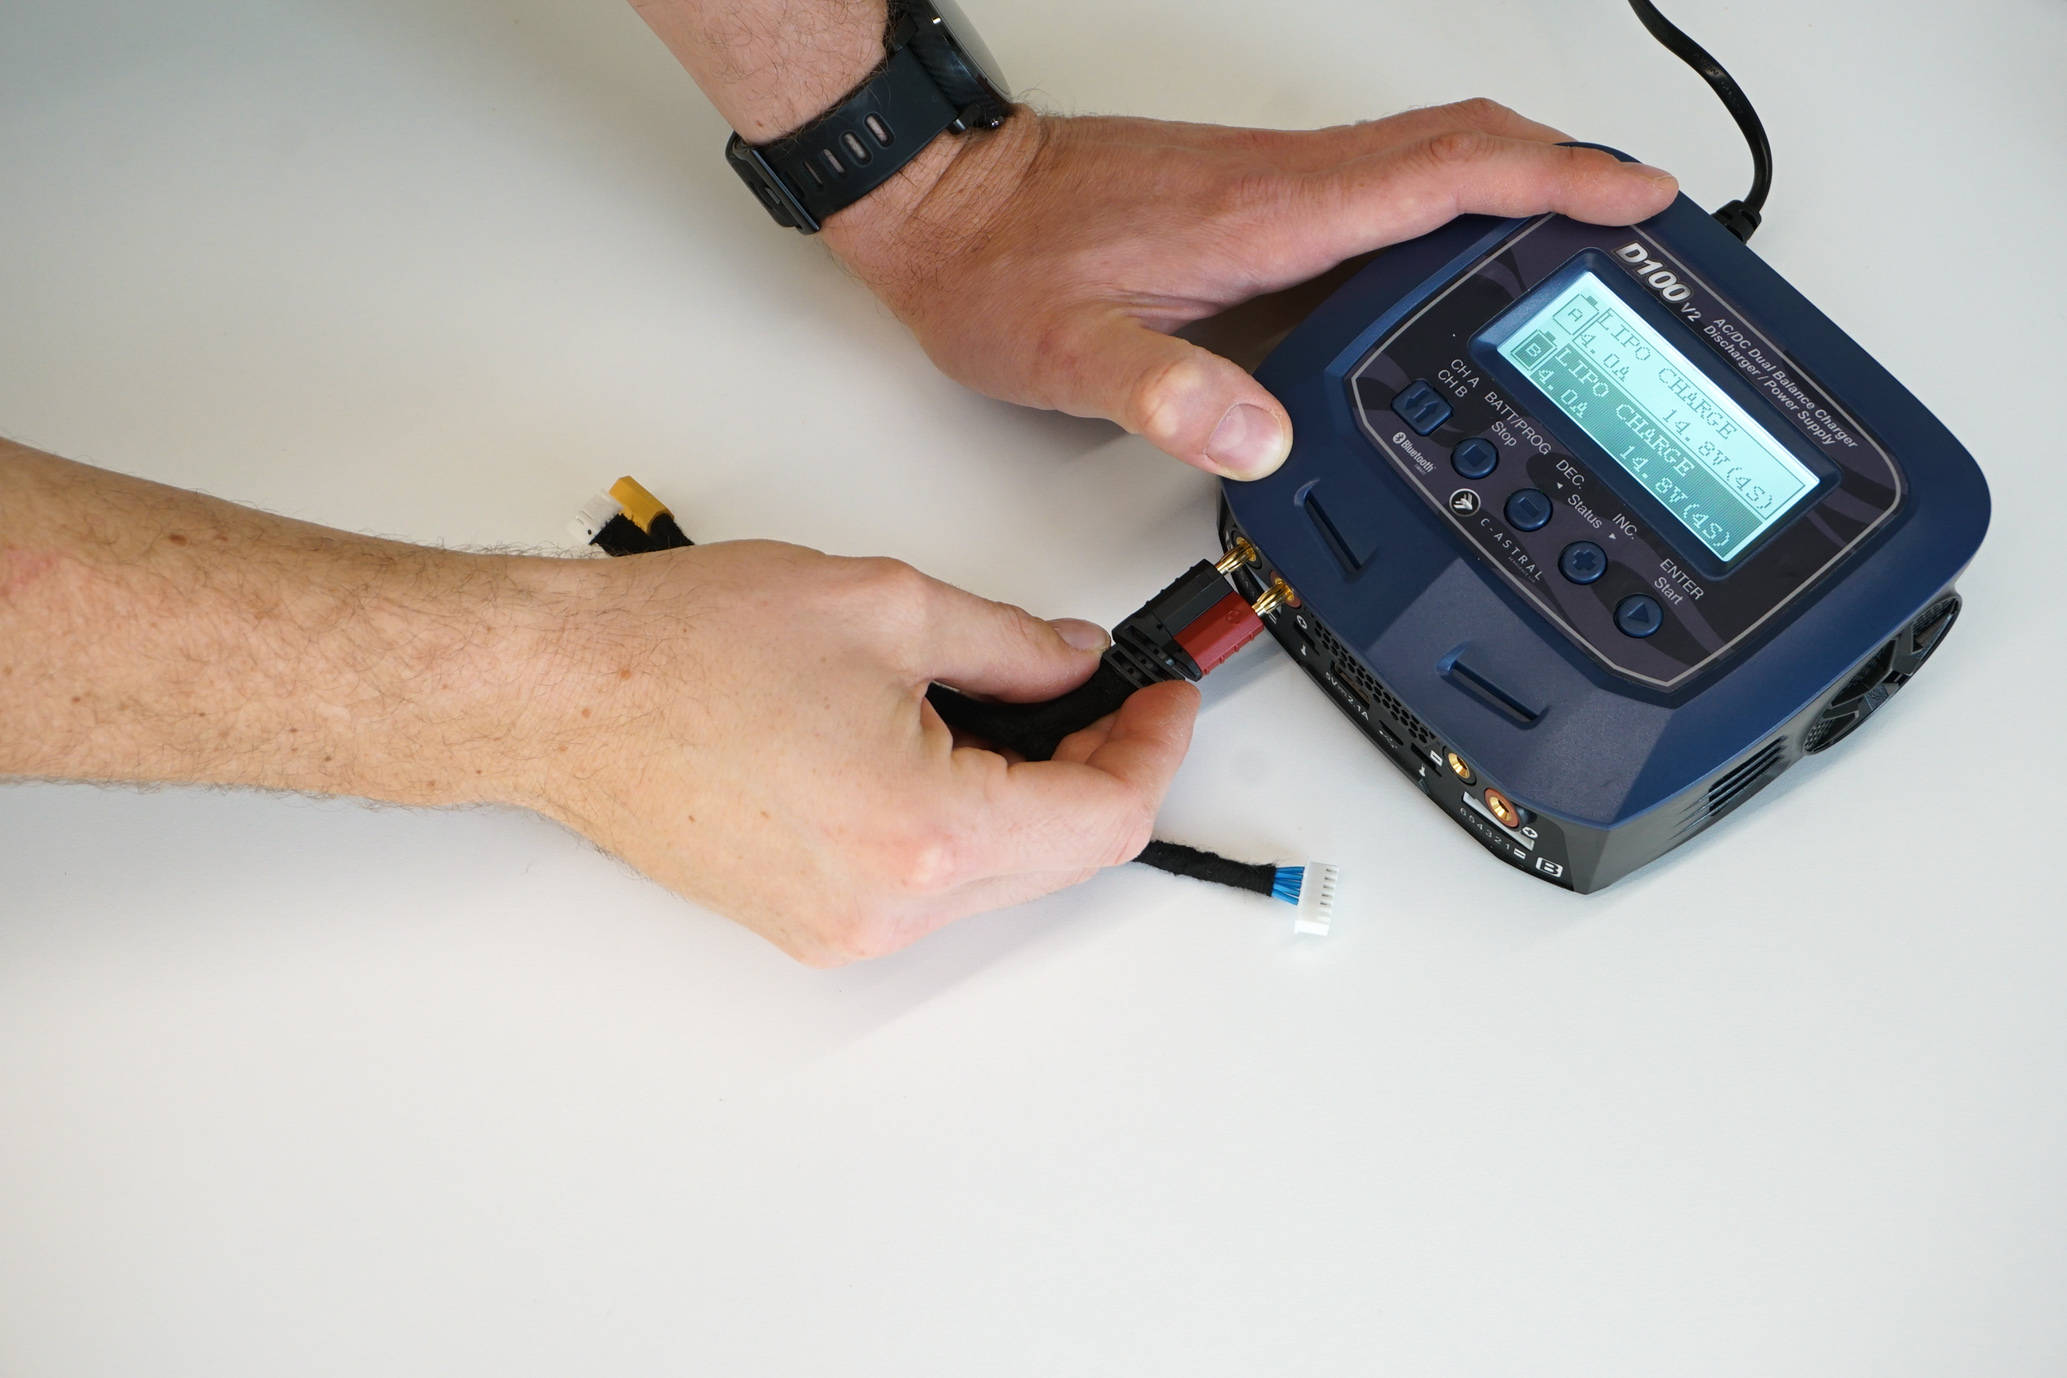 Charging UAV batteries - Connect the charging cable. |
2. CONNECT THE CHARGING CABLE TO THE CHARGING UNIT Make sure that the cable (+) and (-) are correctly connected to the A or B port on the front side of the charger. |
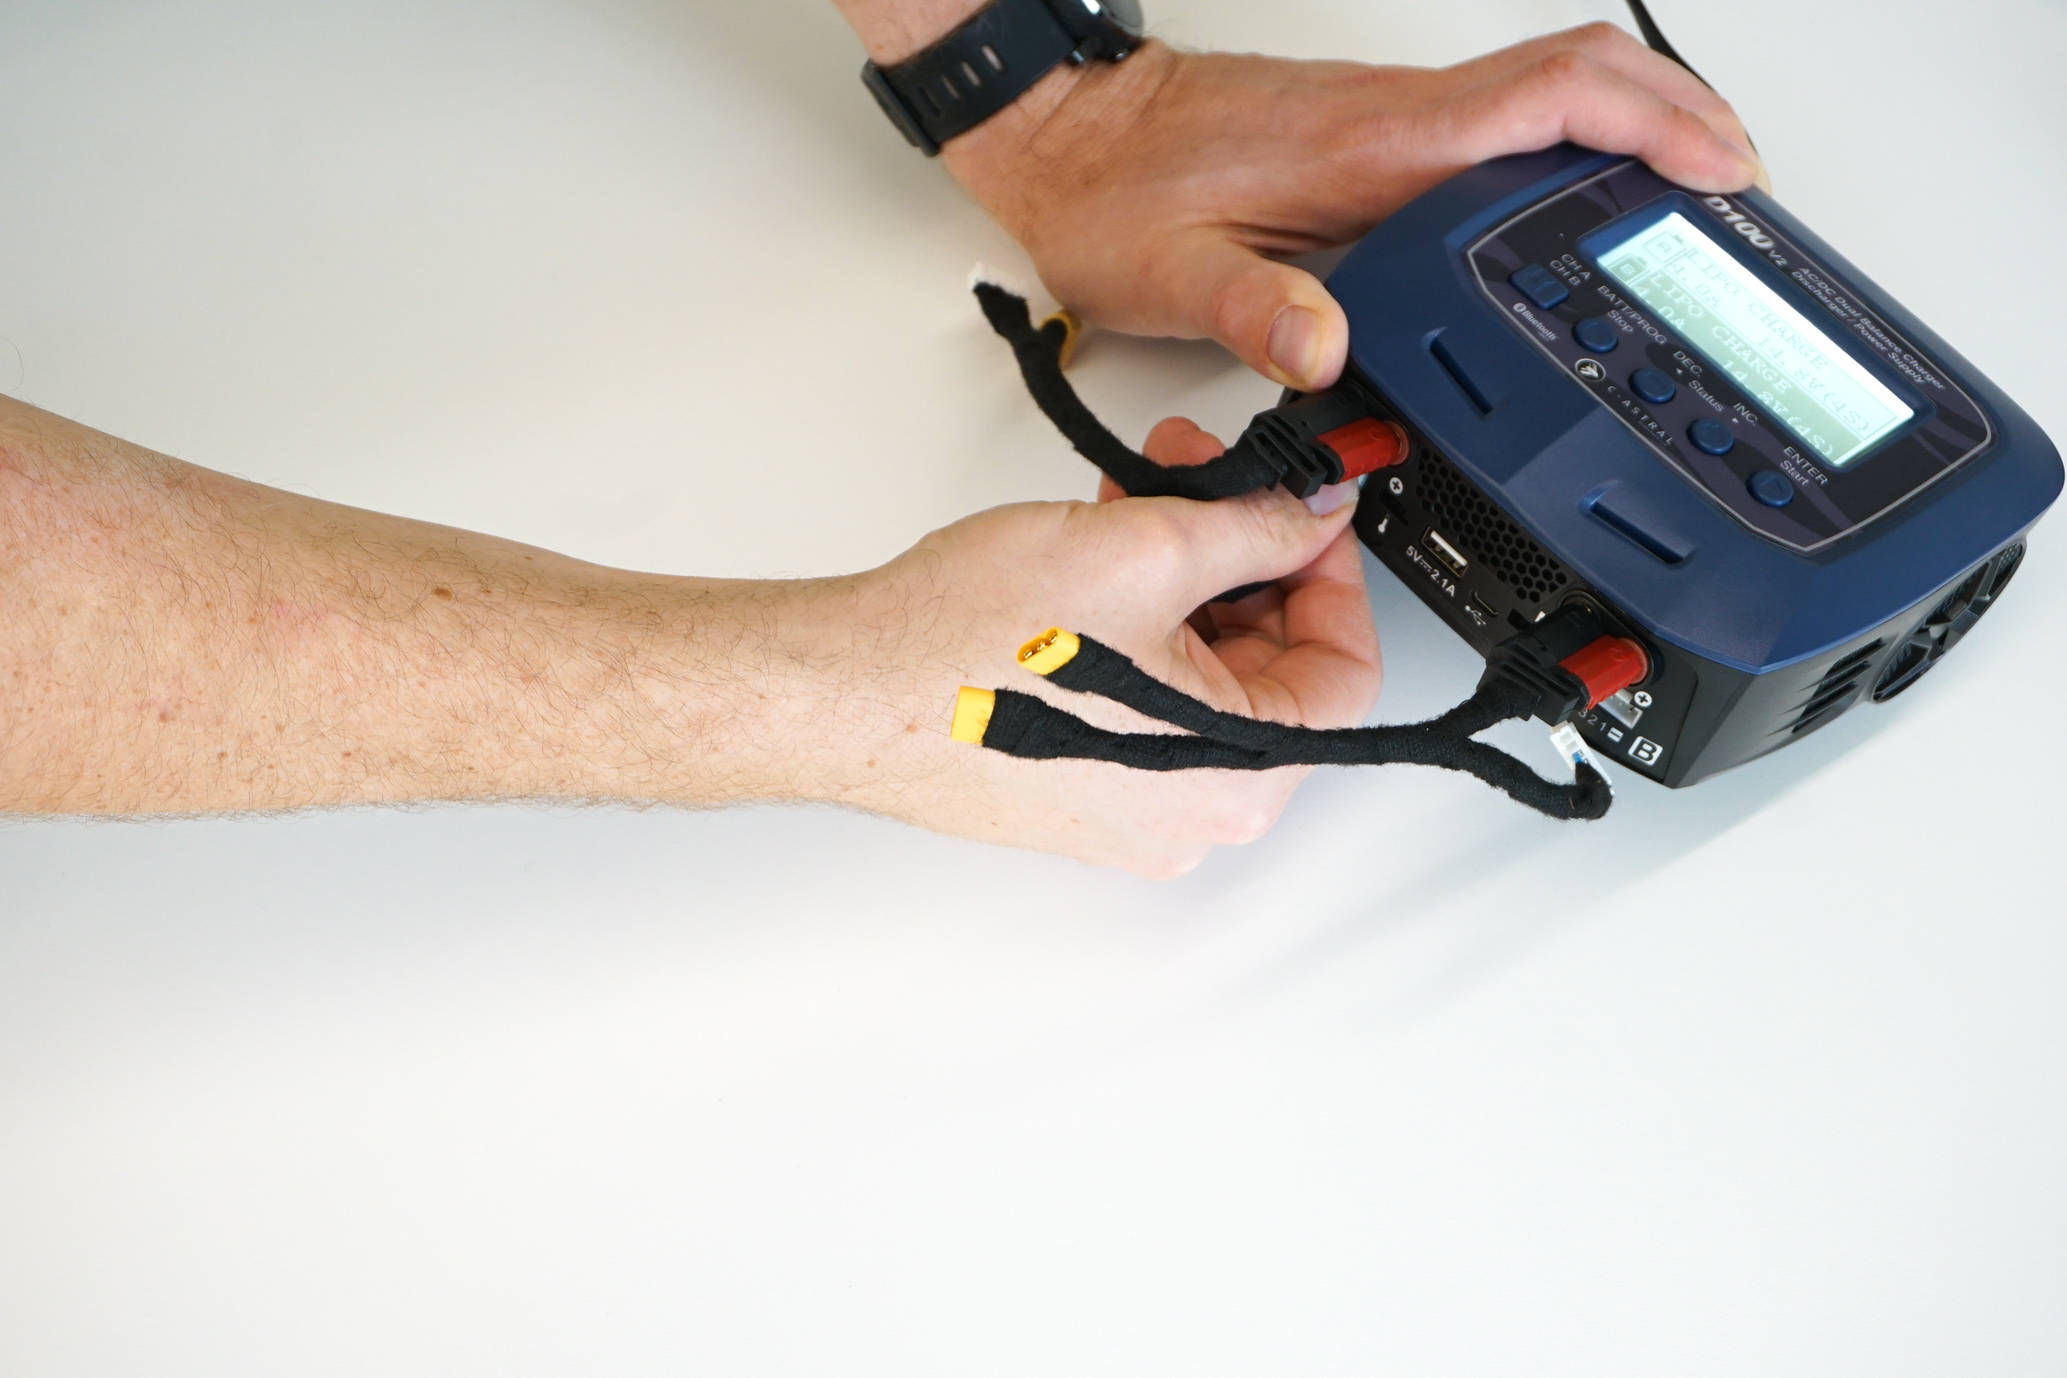 Charging UAV batteries - Connect the balancer. |
3. CONNECT THE BALANCER PAD TO THE CHARGING UNIT Connect the balancer pad named “XH ADAPTOR” to the balancer port near the corresponding output side. |
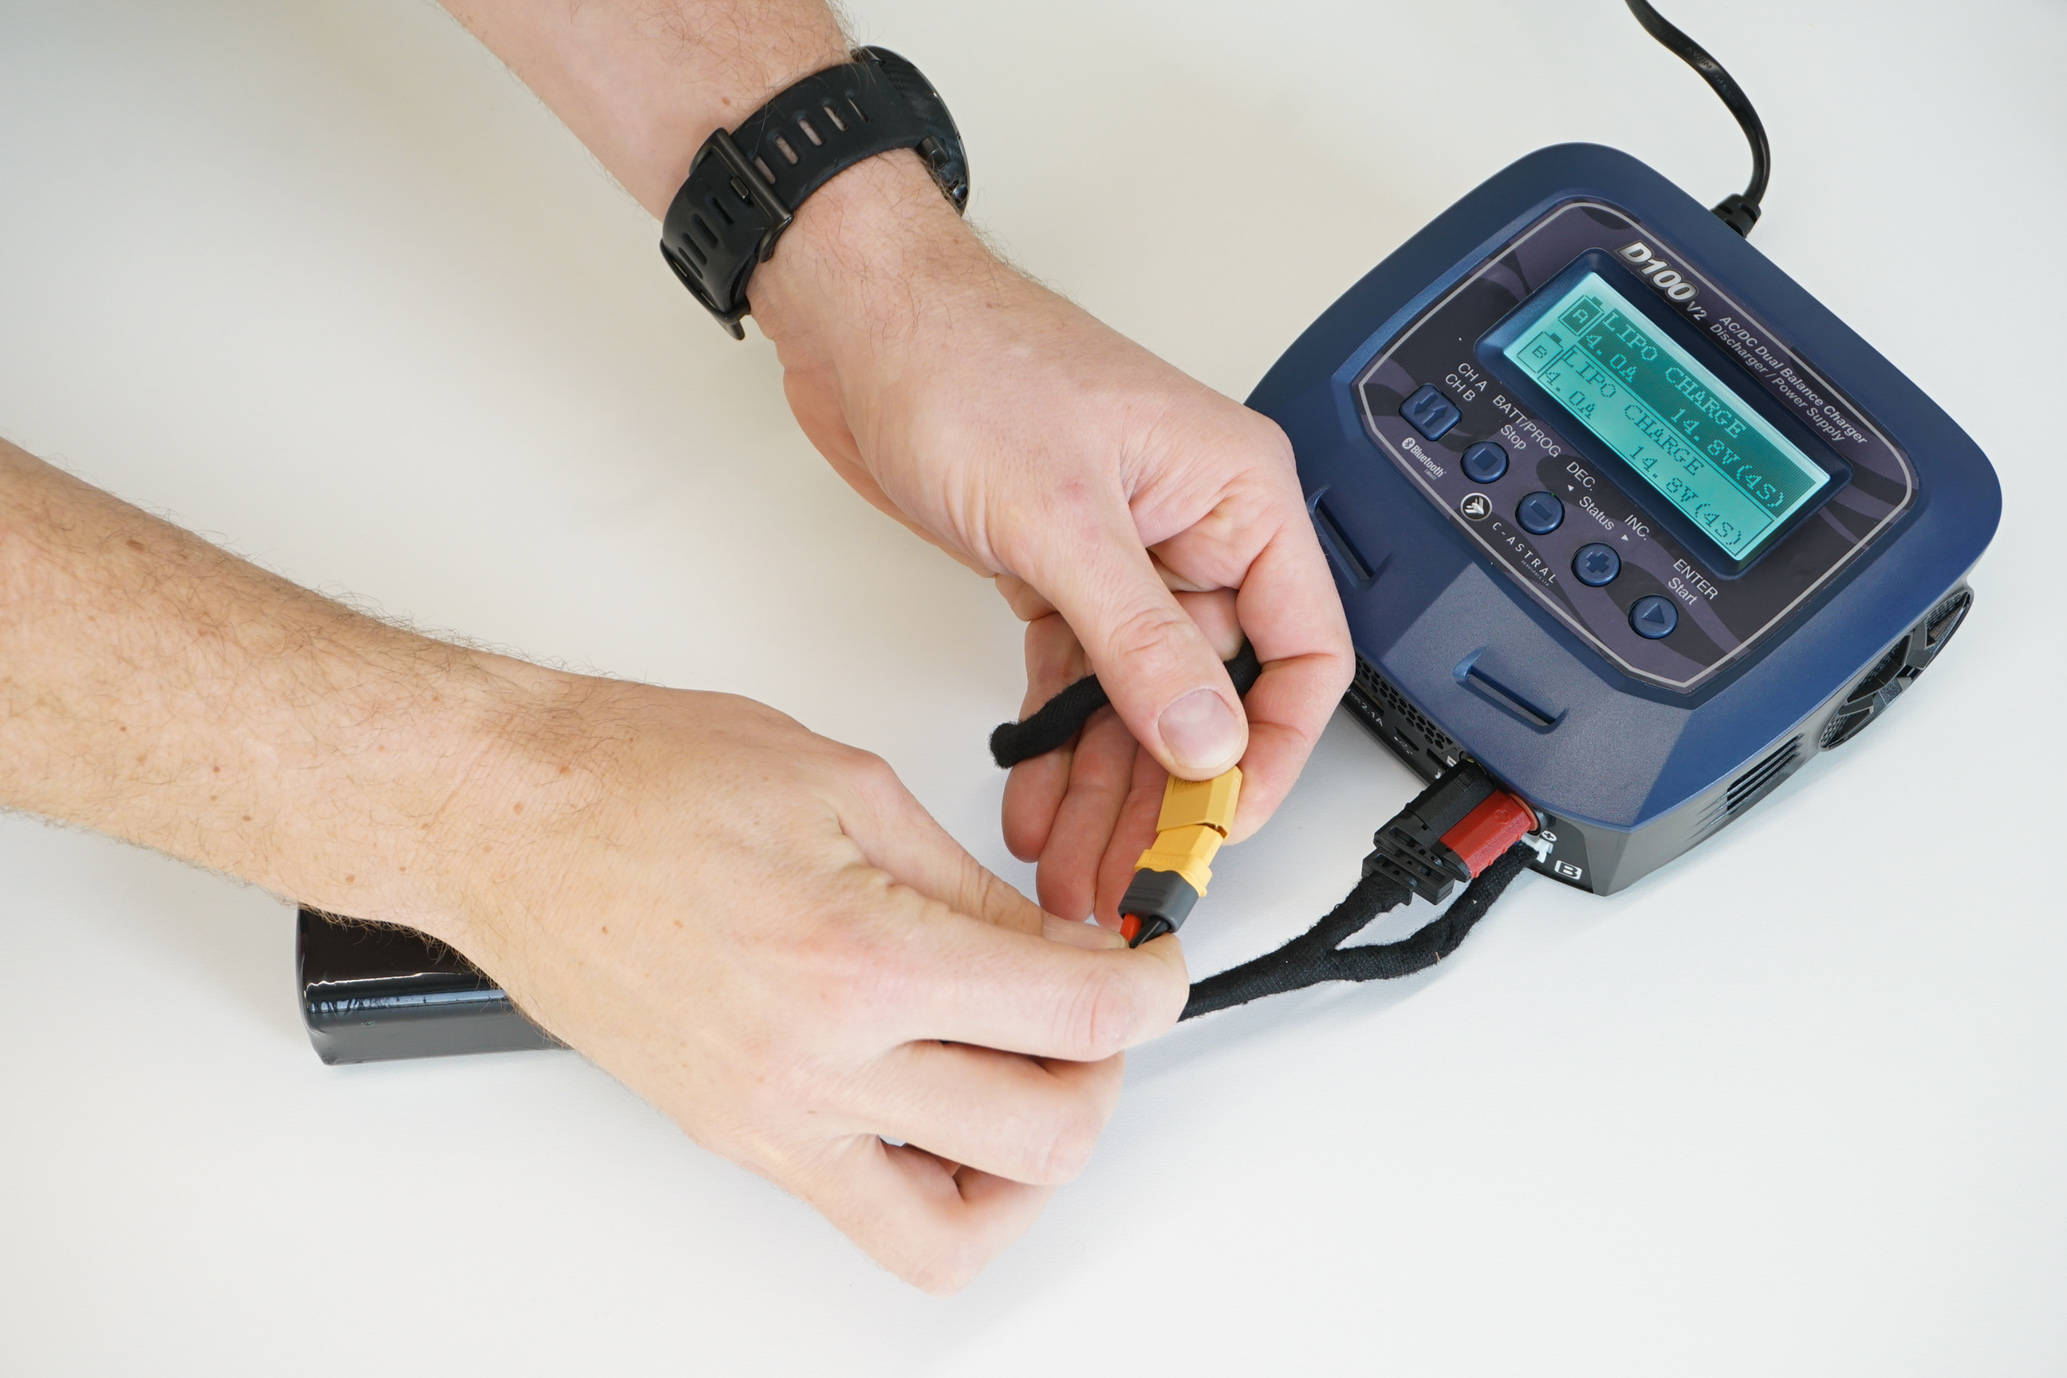 Charging UAV batteries - Connecting the battery. |
4. CONNECT THE MAIN ATLAS BATTERY TO THE CHARGING CABLE Connect the battery cable to the charging cable of the charger. |
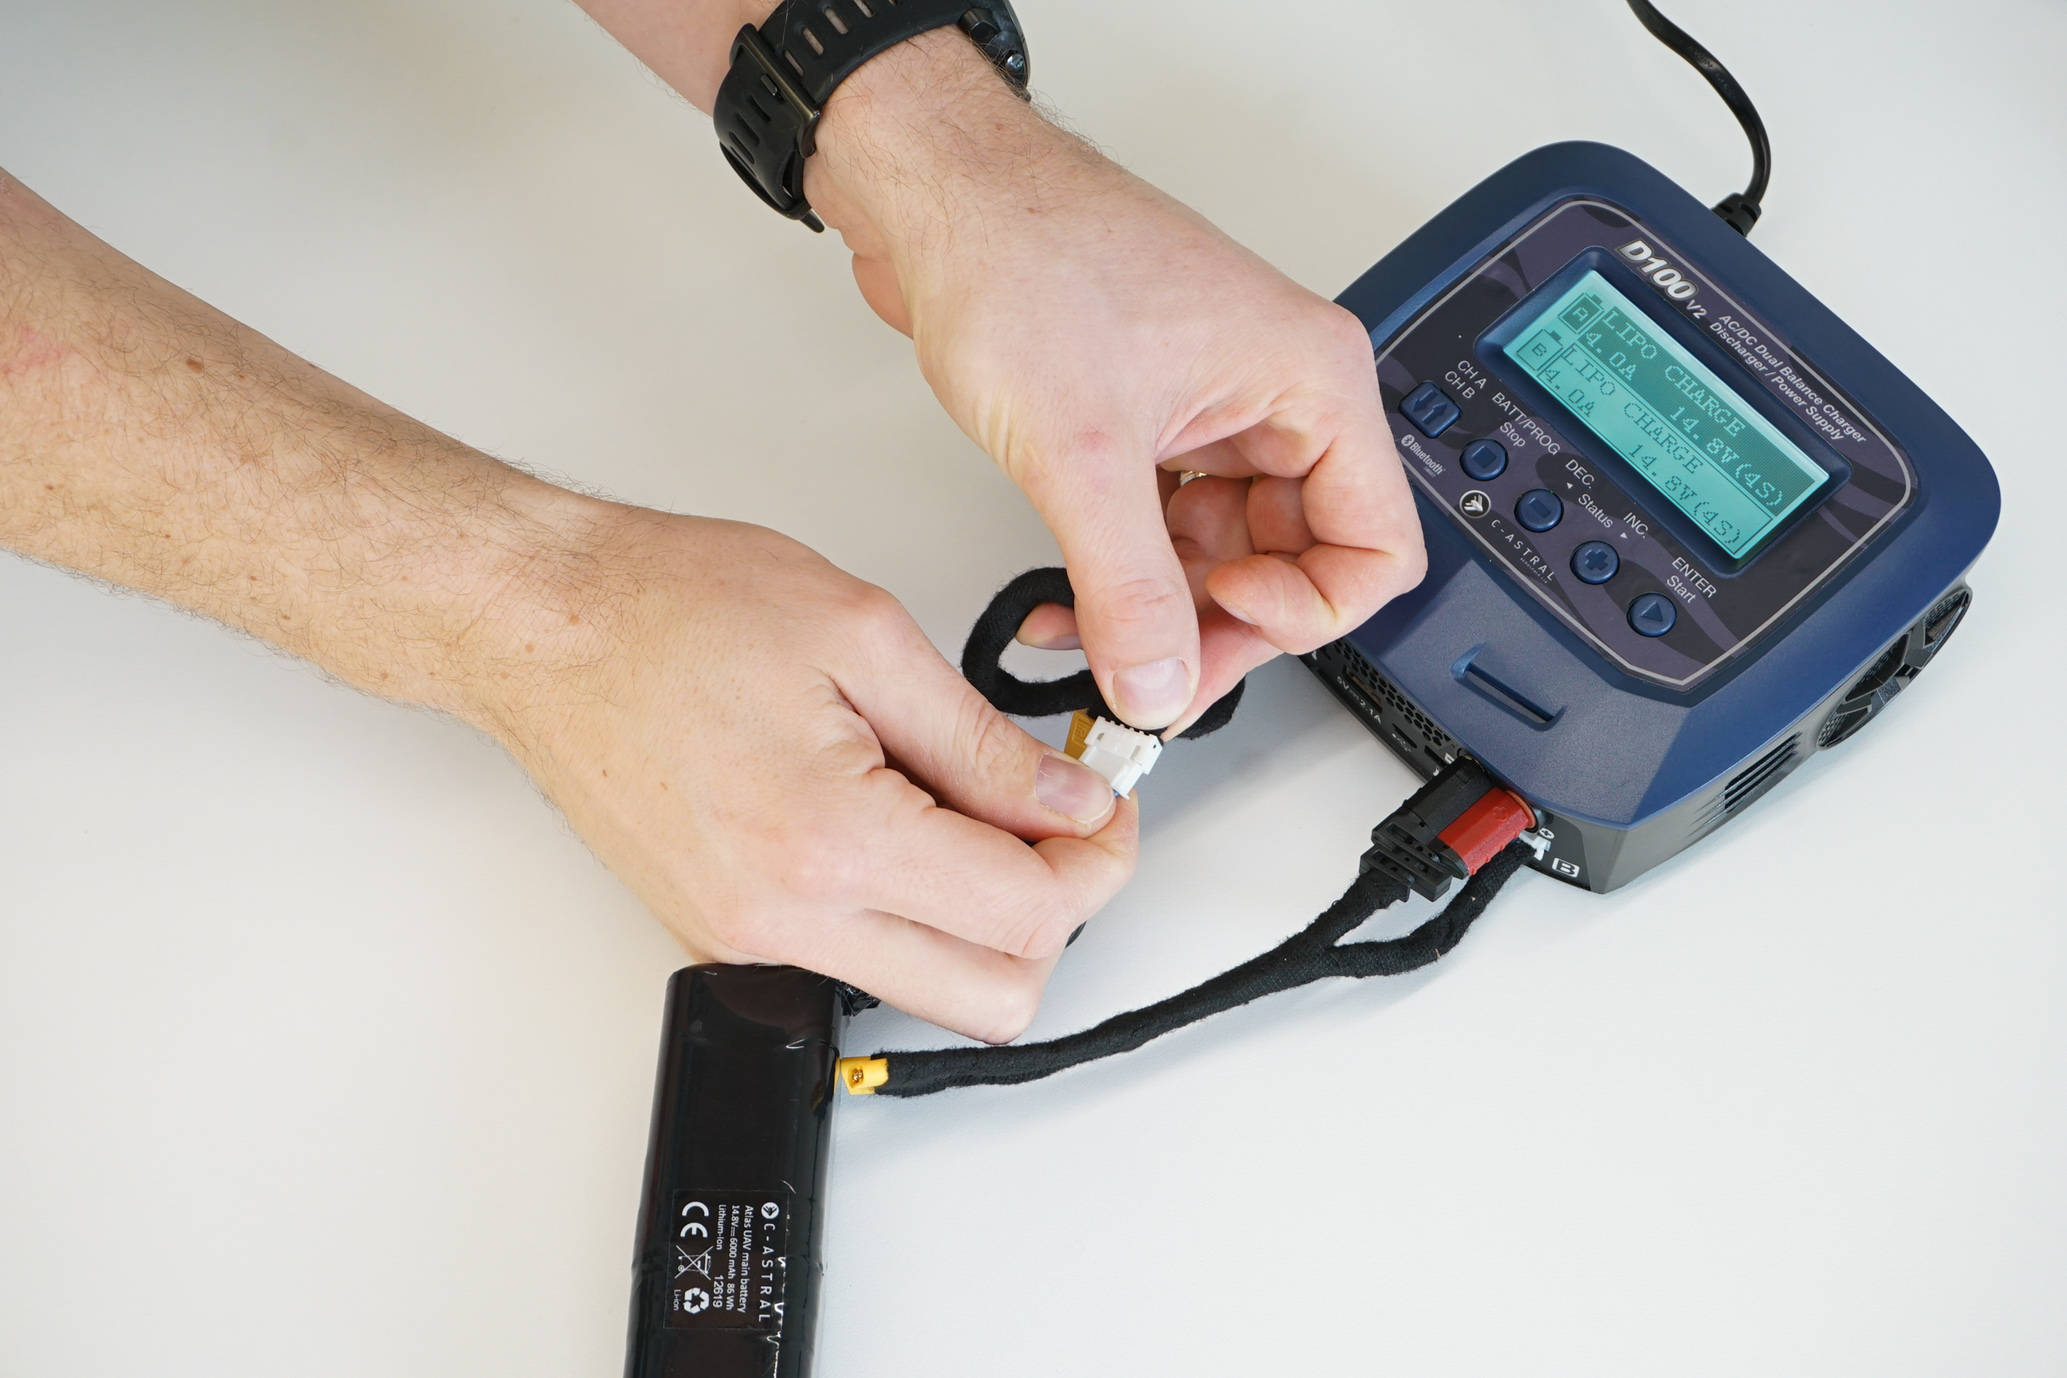 Charging UAV batteries - Connecting battery balancer cable. |
5. CONNECT THE BATTERY BALANCER CONNECTOR TO THE BALANCER PAD Connect the battery balancer connector to the balancer's pad 4S port. IMPORTANT: Connect to the correct charger output (4s) otherwise you can charge the battery unbalanced and this can cause damage to the battery. |
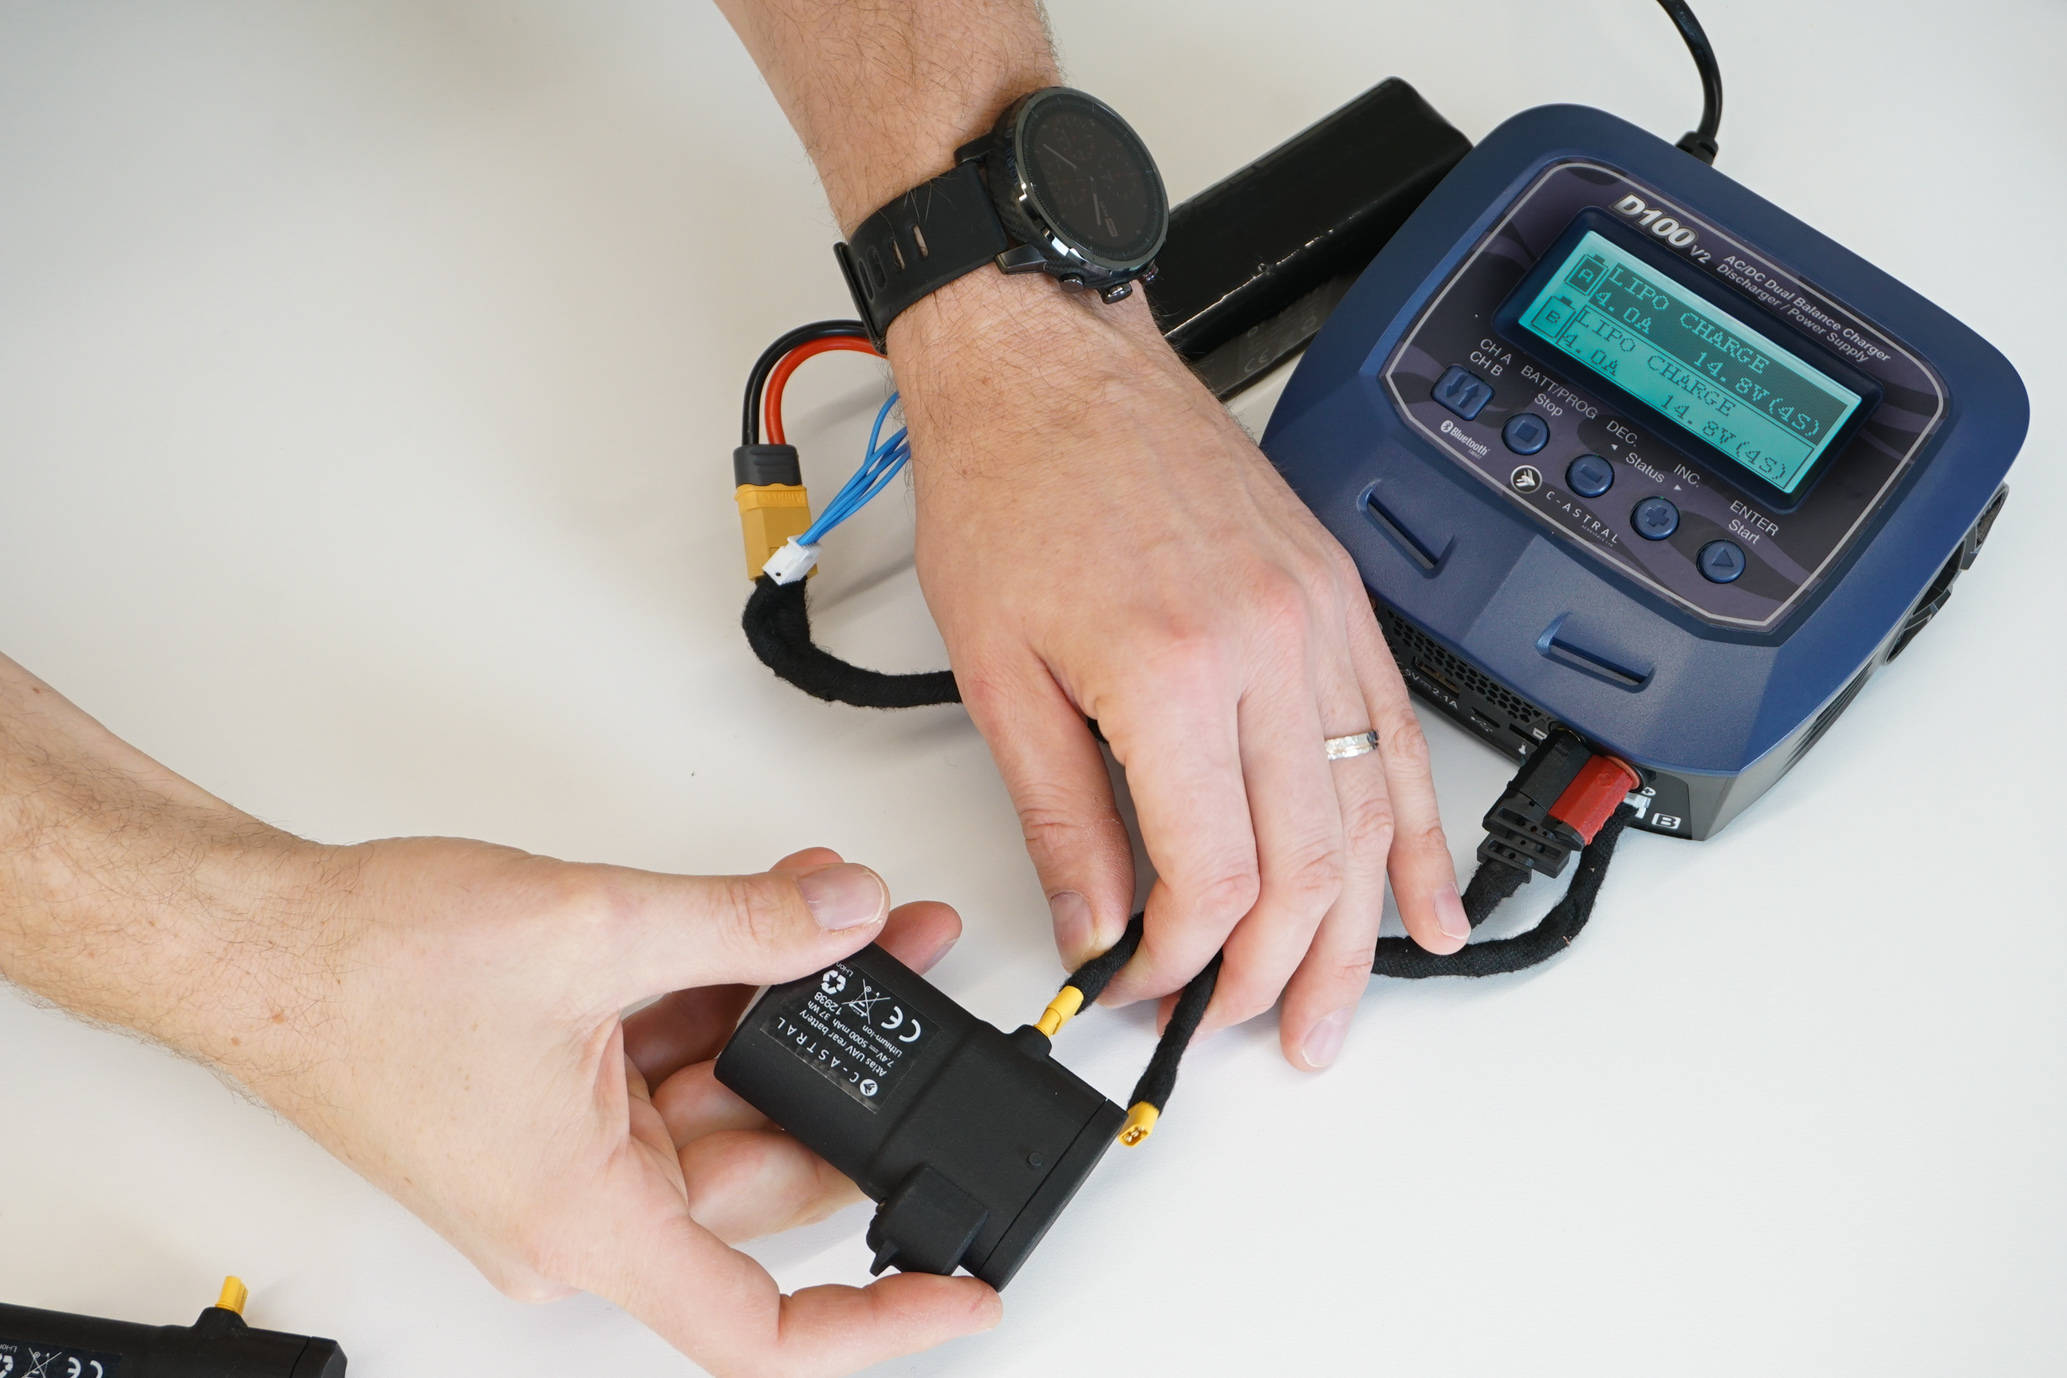 Charging UAV batteries - Connecting the battery. |
6. CONNECT BACK BATTERIES TO THE CHARGING CABLE Connect back batteries to the charger. |
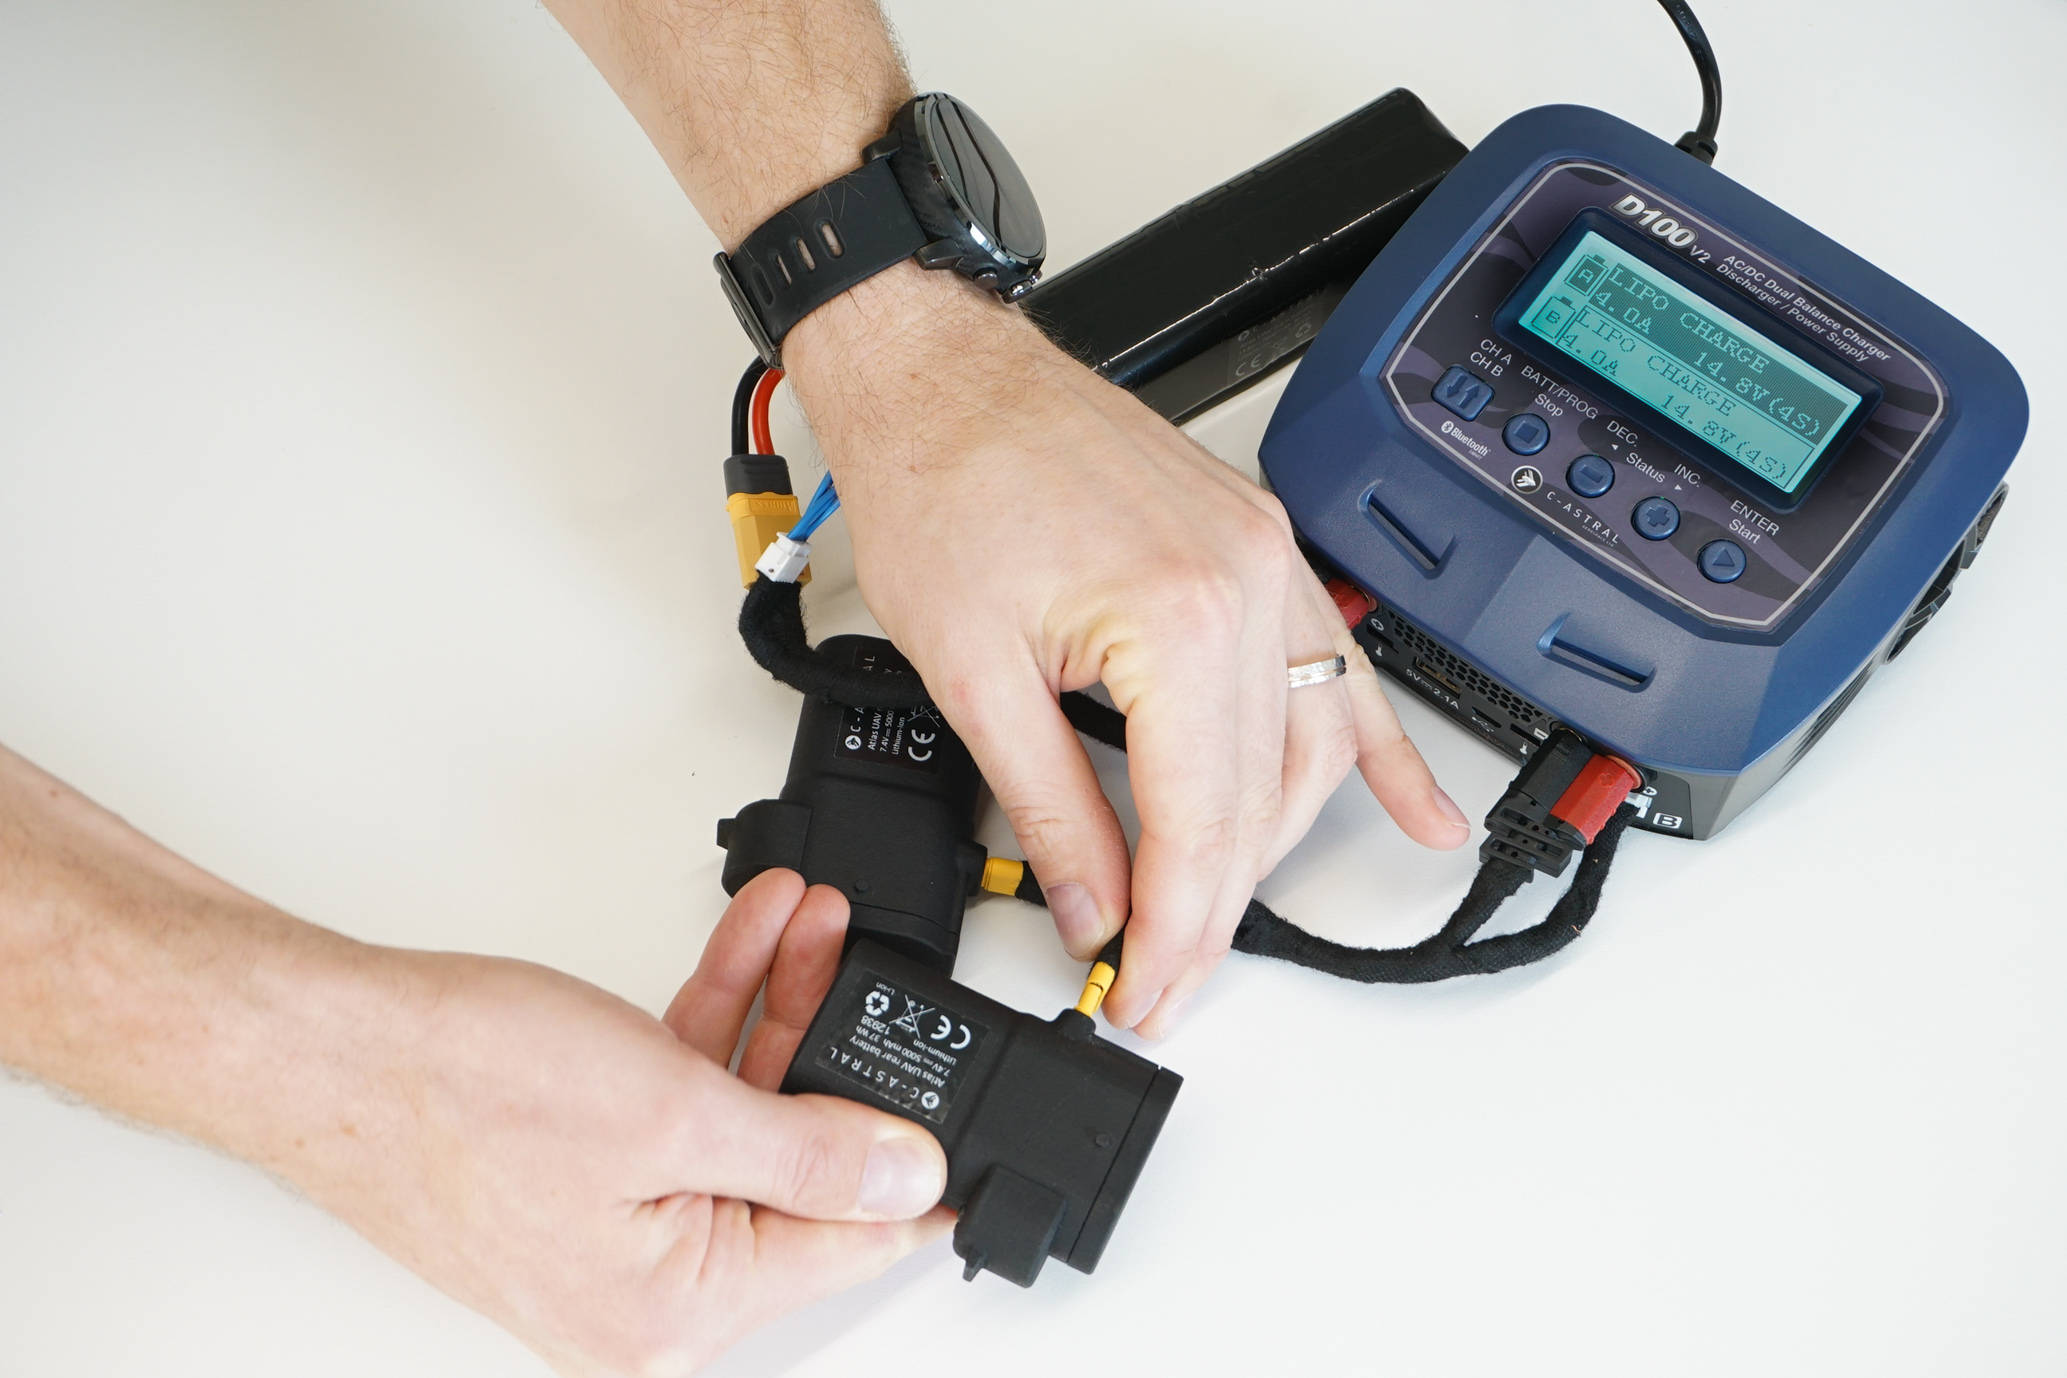 Charging UAV batteries - Connecting the battery. |
|
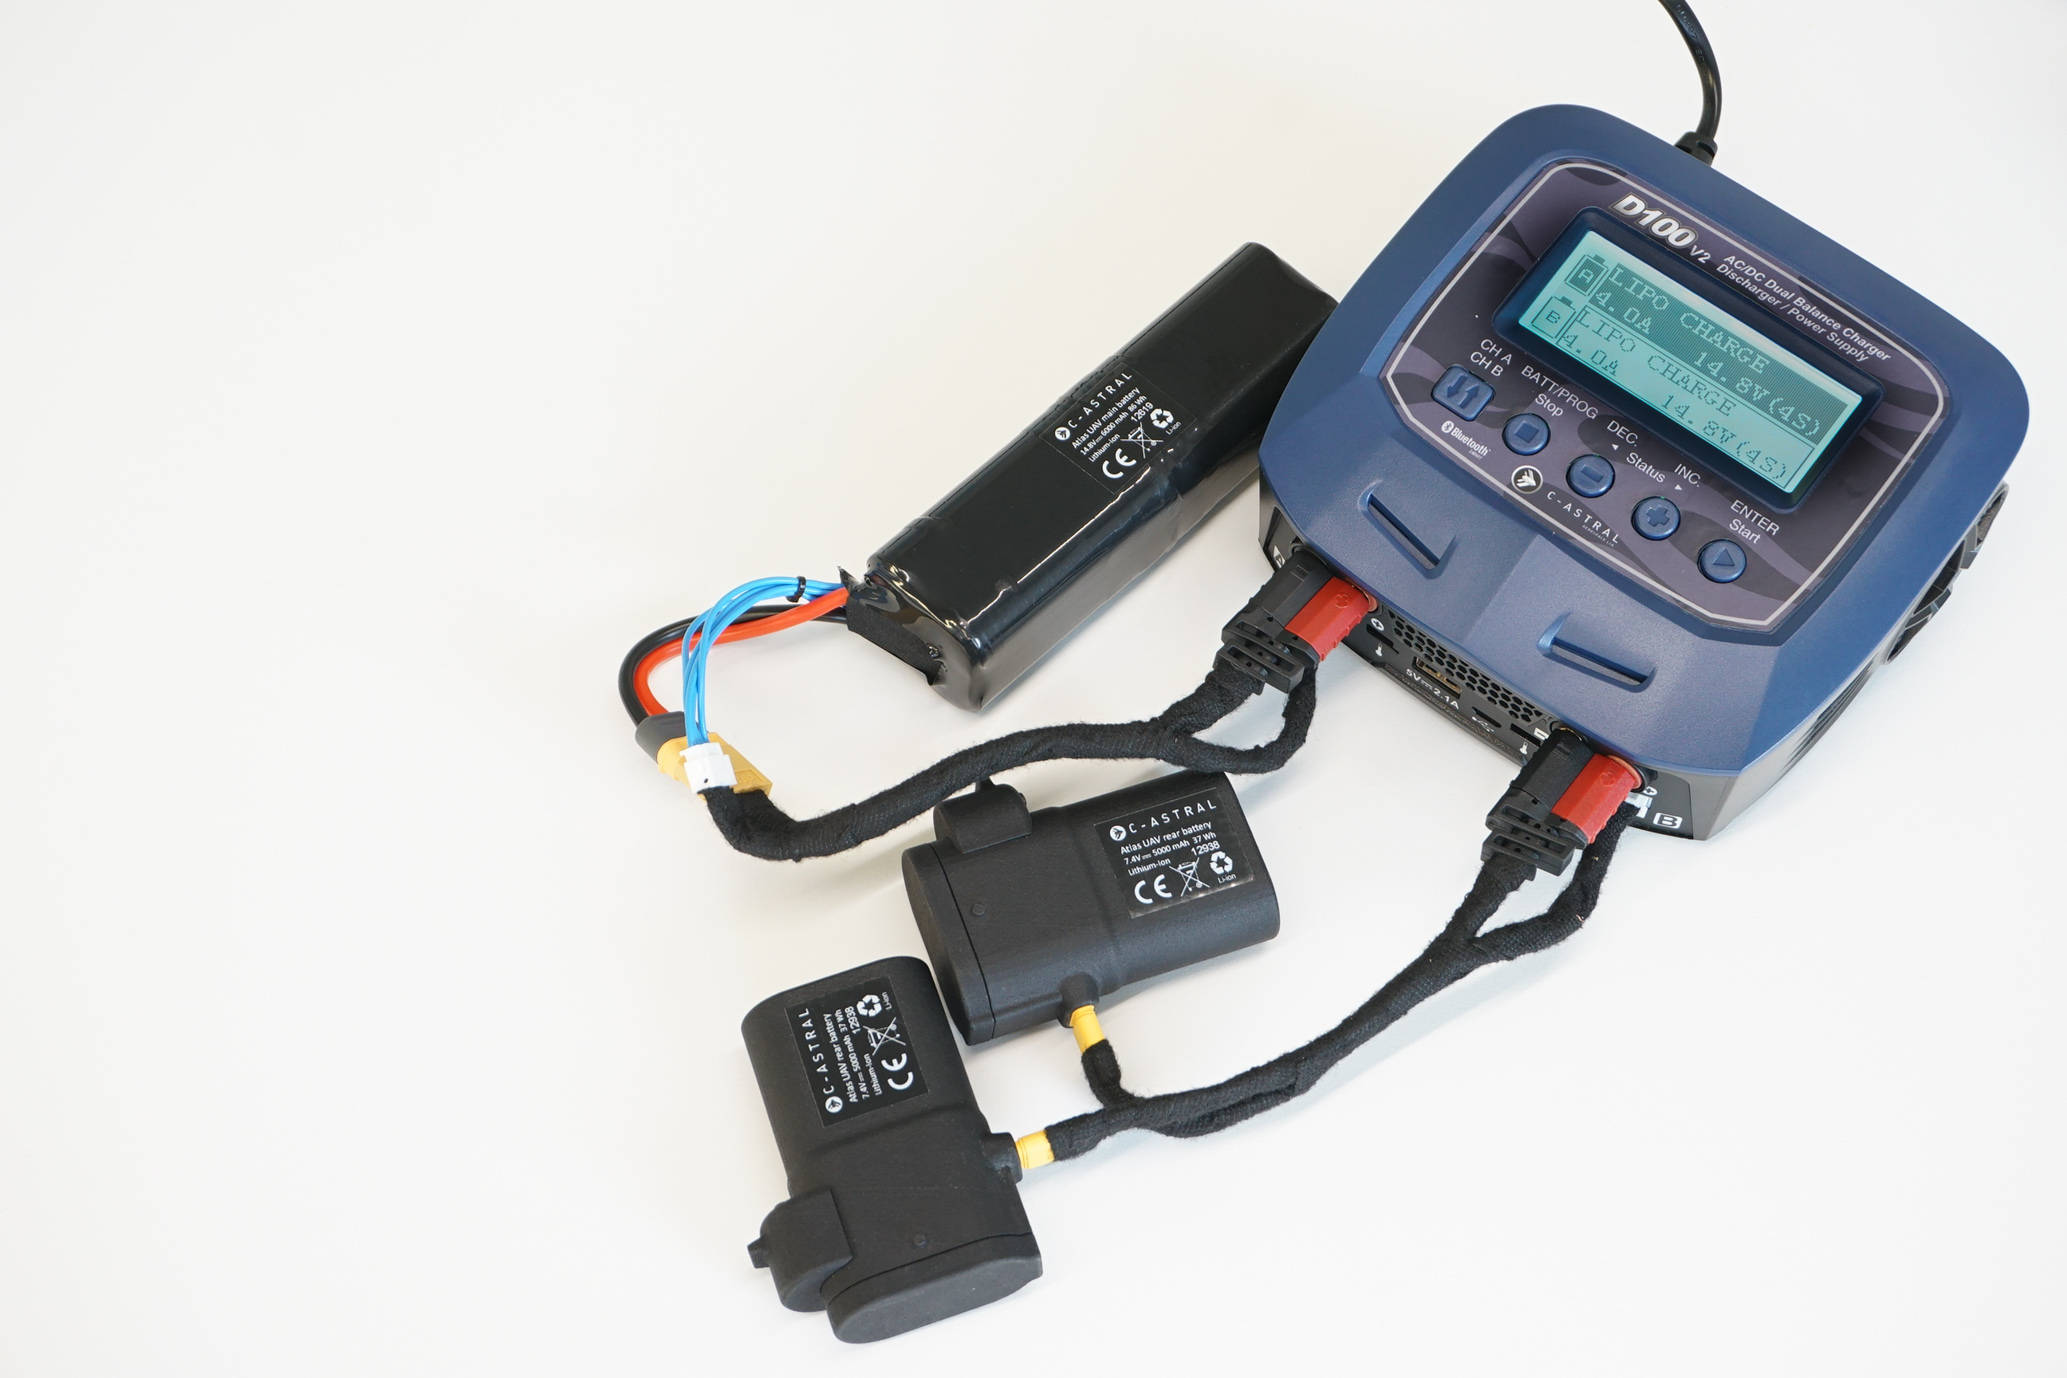 Charging UAV batteries - All batteries connected. |
|
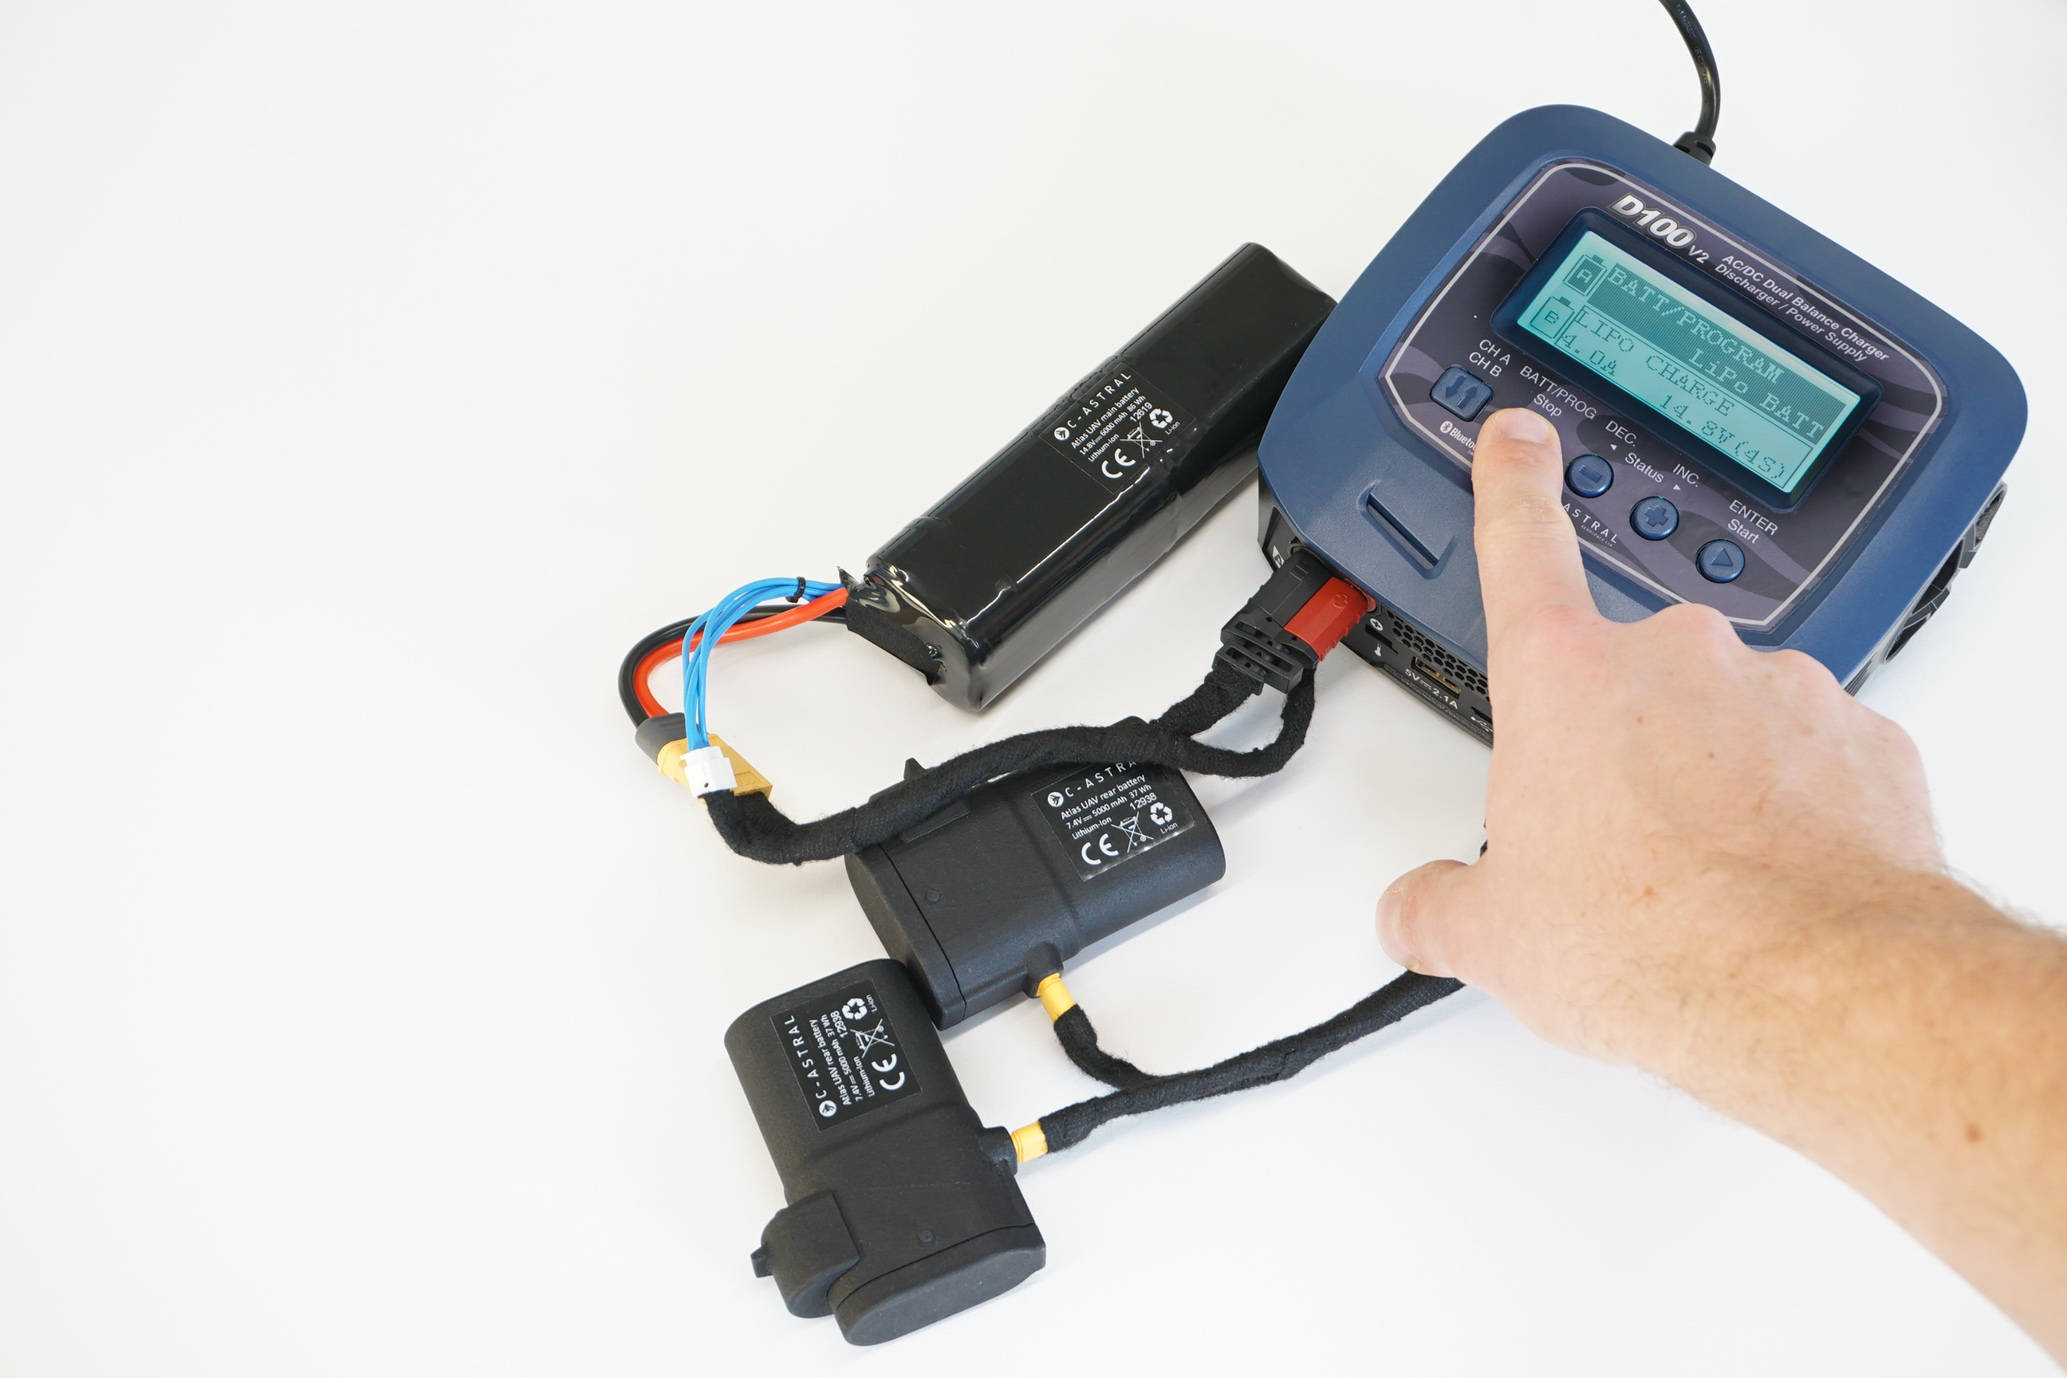 Charging UAV batteries - Selecting charging side. |
7. SELECT THE CHARGING SIDE Press “CH A / CH B” button to choose the charging side. Once the side is selected, corresponding side on the display will be marked. |
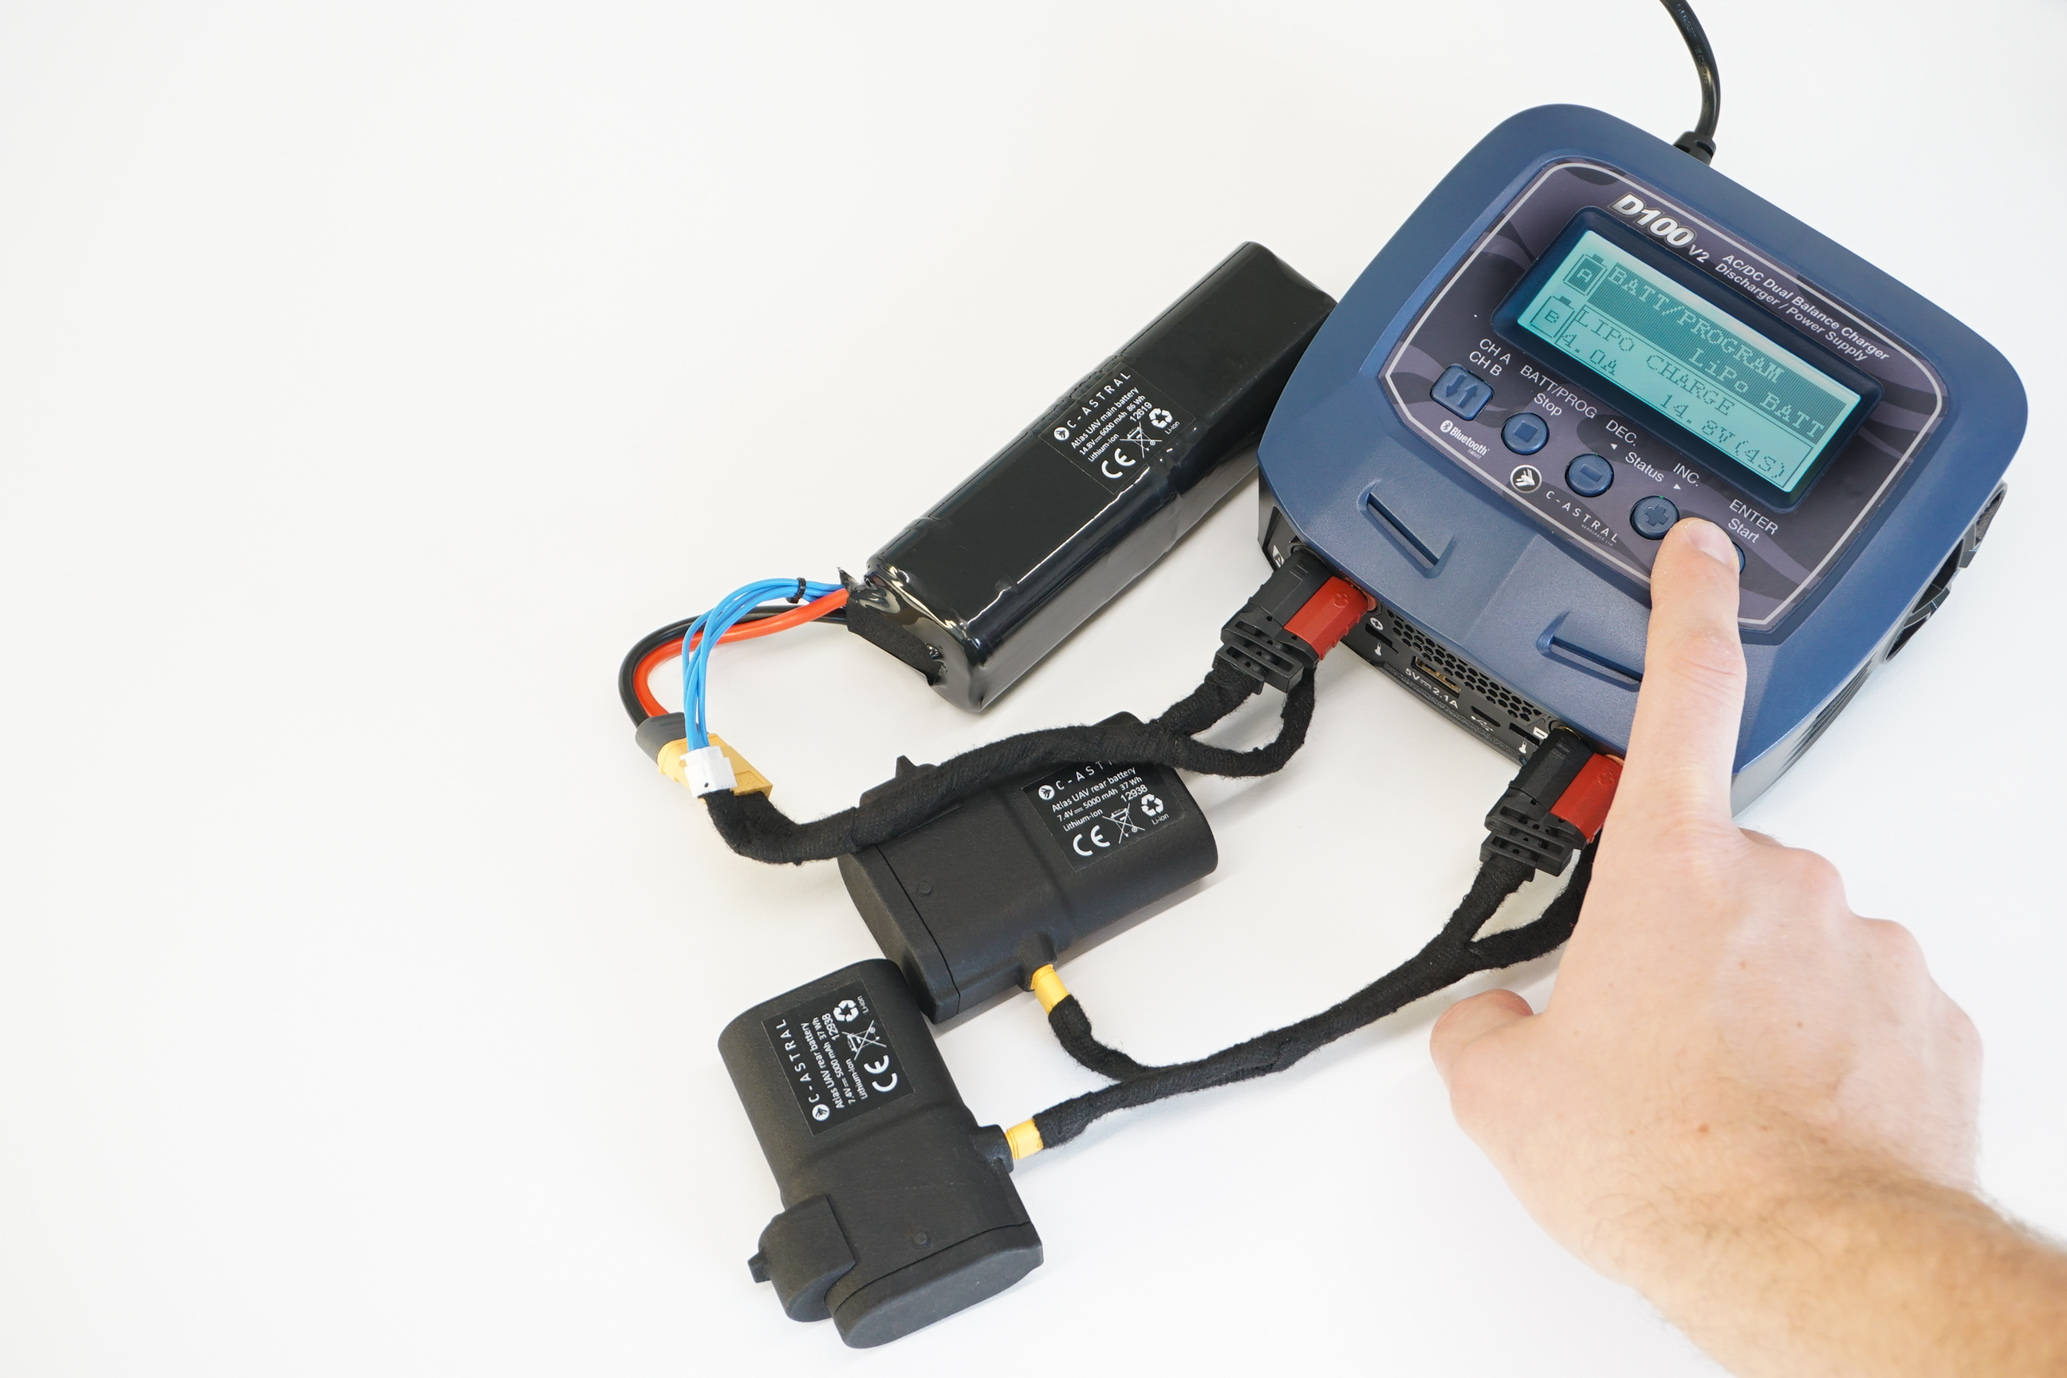 Charging UAV batteries - Selecting the program. |
8. SELECT BATTERY PROGRAM Press “BATT/PROG" to select the correct program for the Battery. Use - and + buttons to move in the programs. For UAV Battery select LiPo Batt. Pres Enter to confirm selection. |
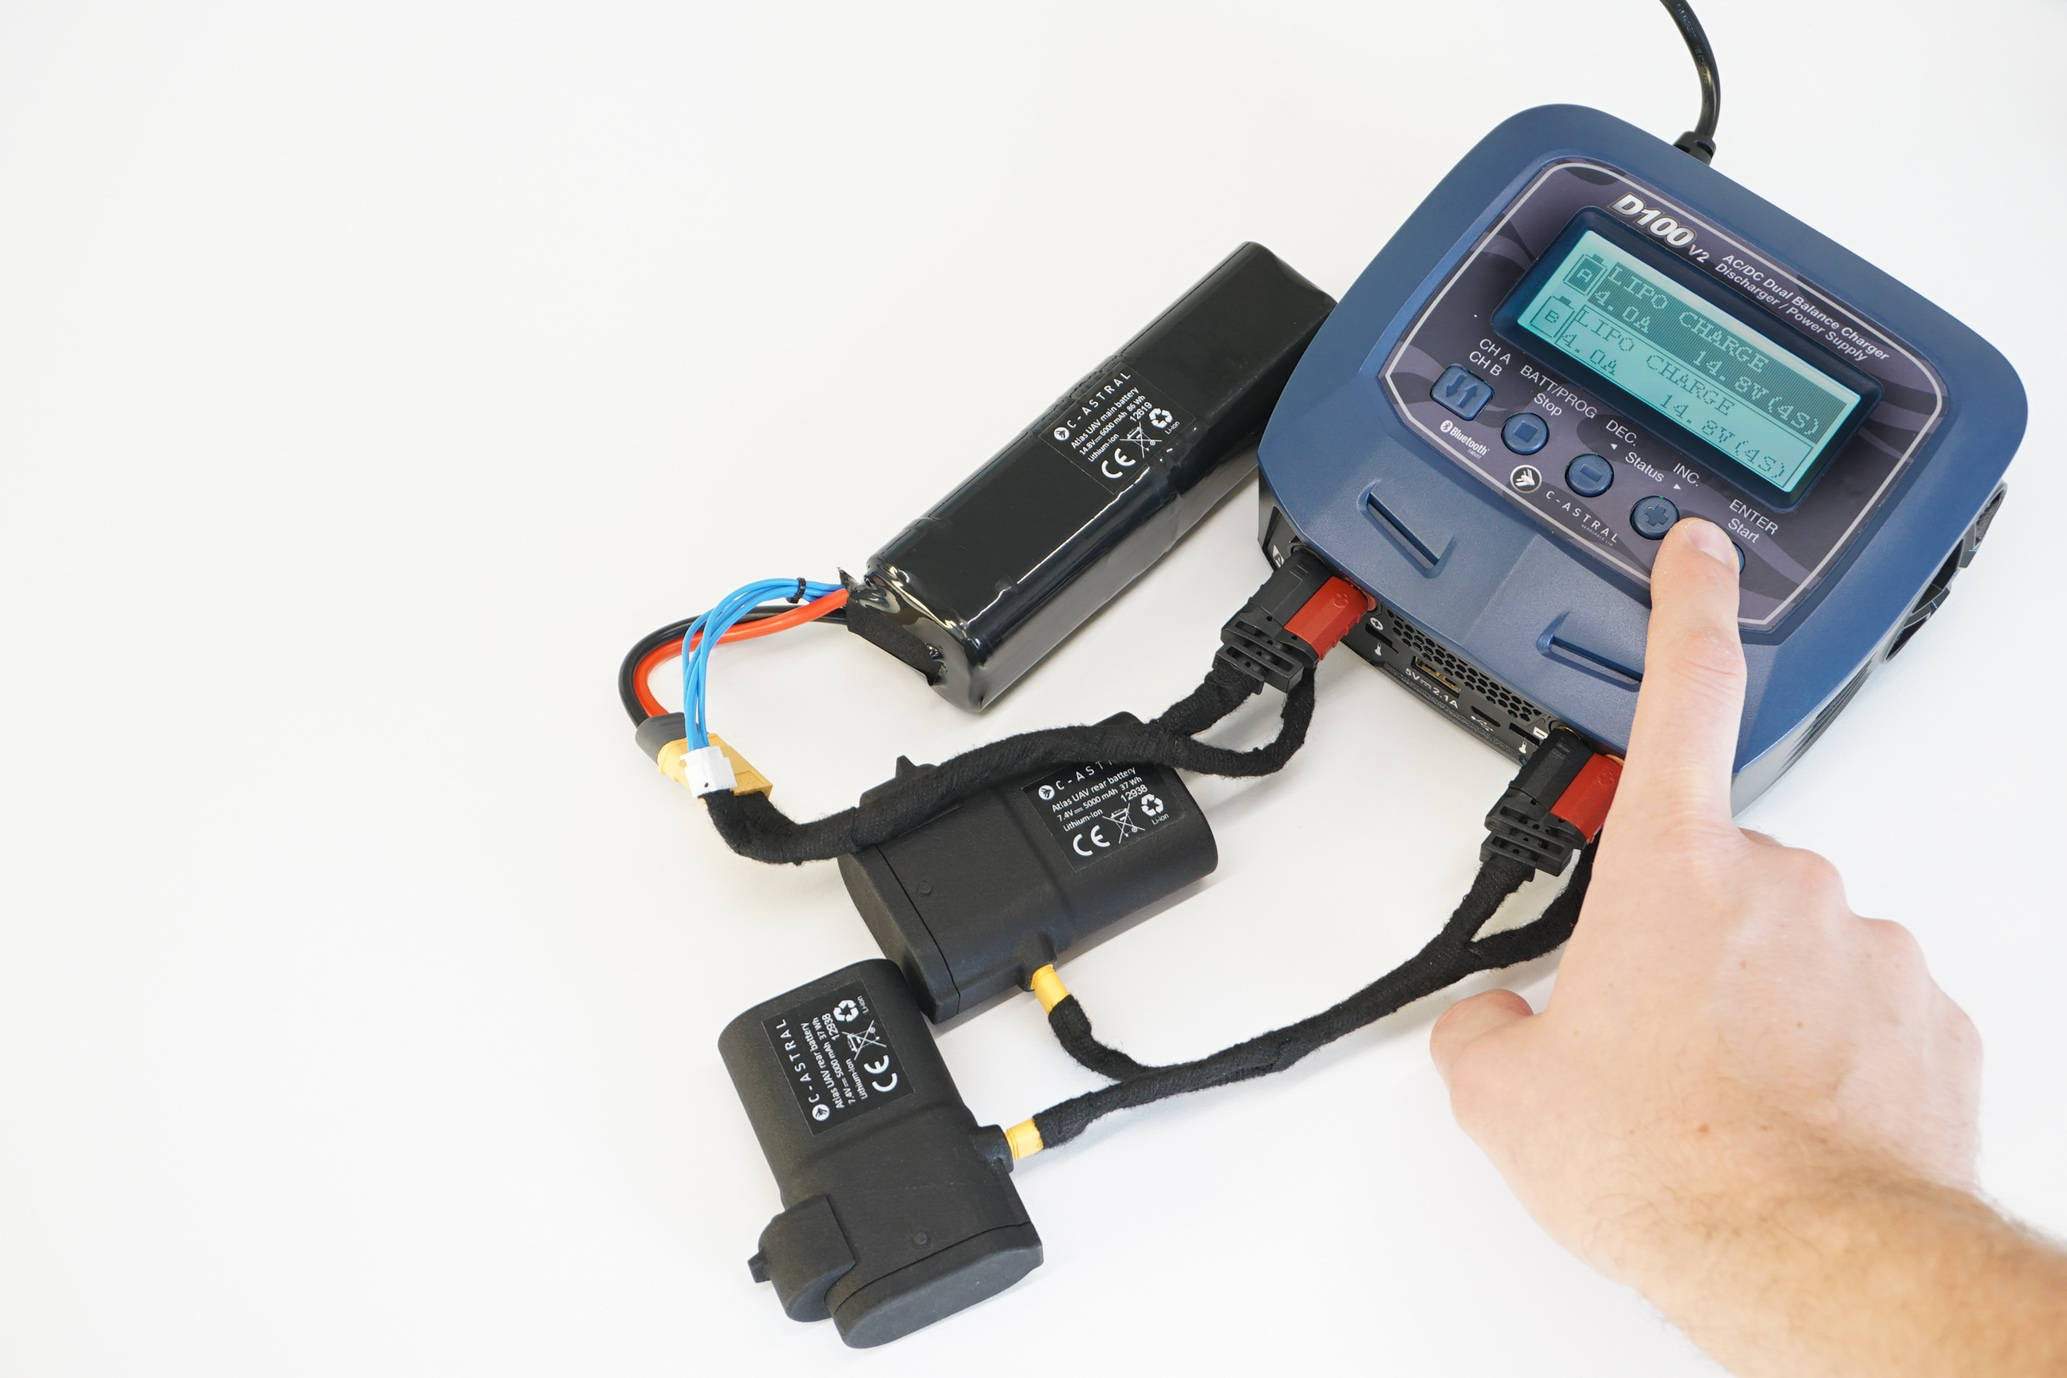 Charging UAV batteries - Selecting Lipo charge program. |
9. SELECT LIPO CHRAGE Use - and + buttons to move in the programs until you reach "LIPO CHARGE". . |
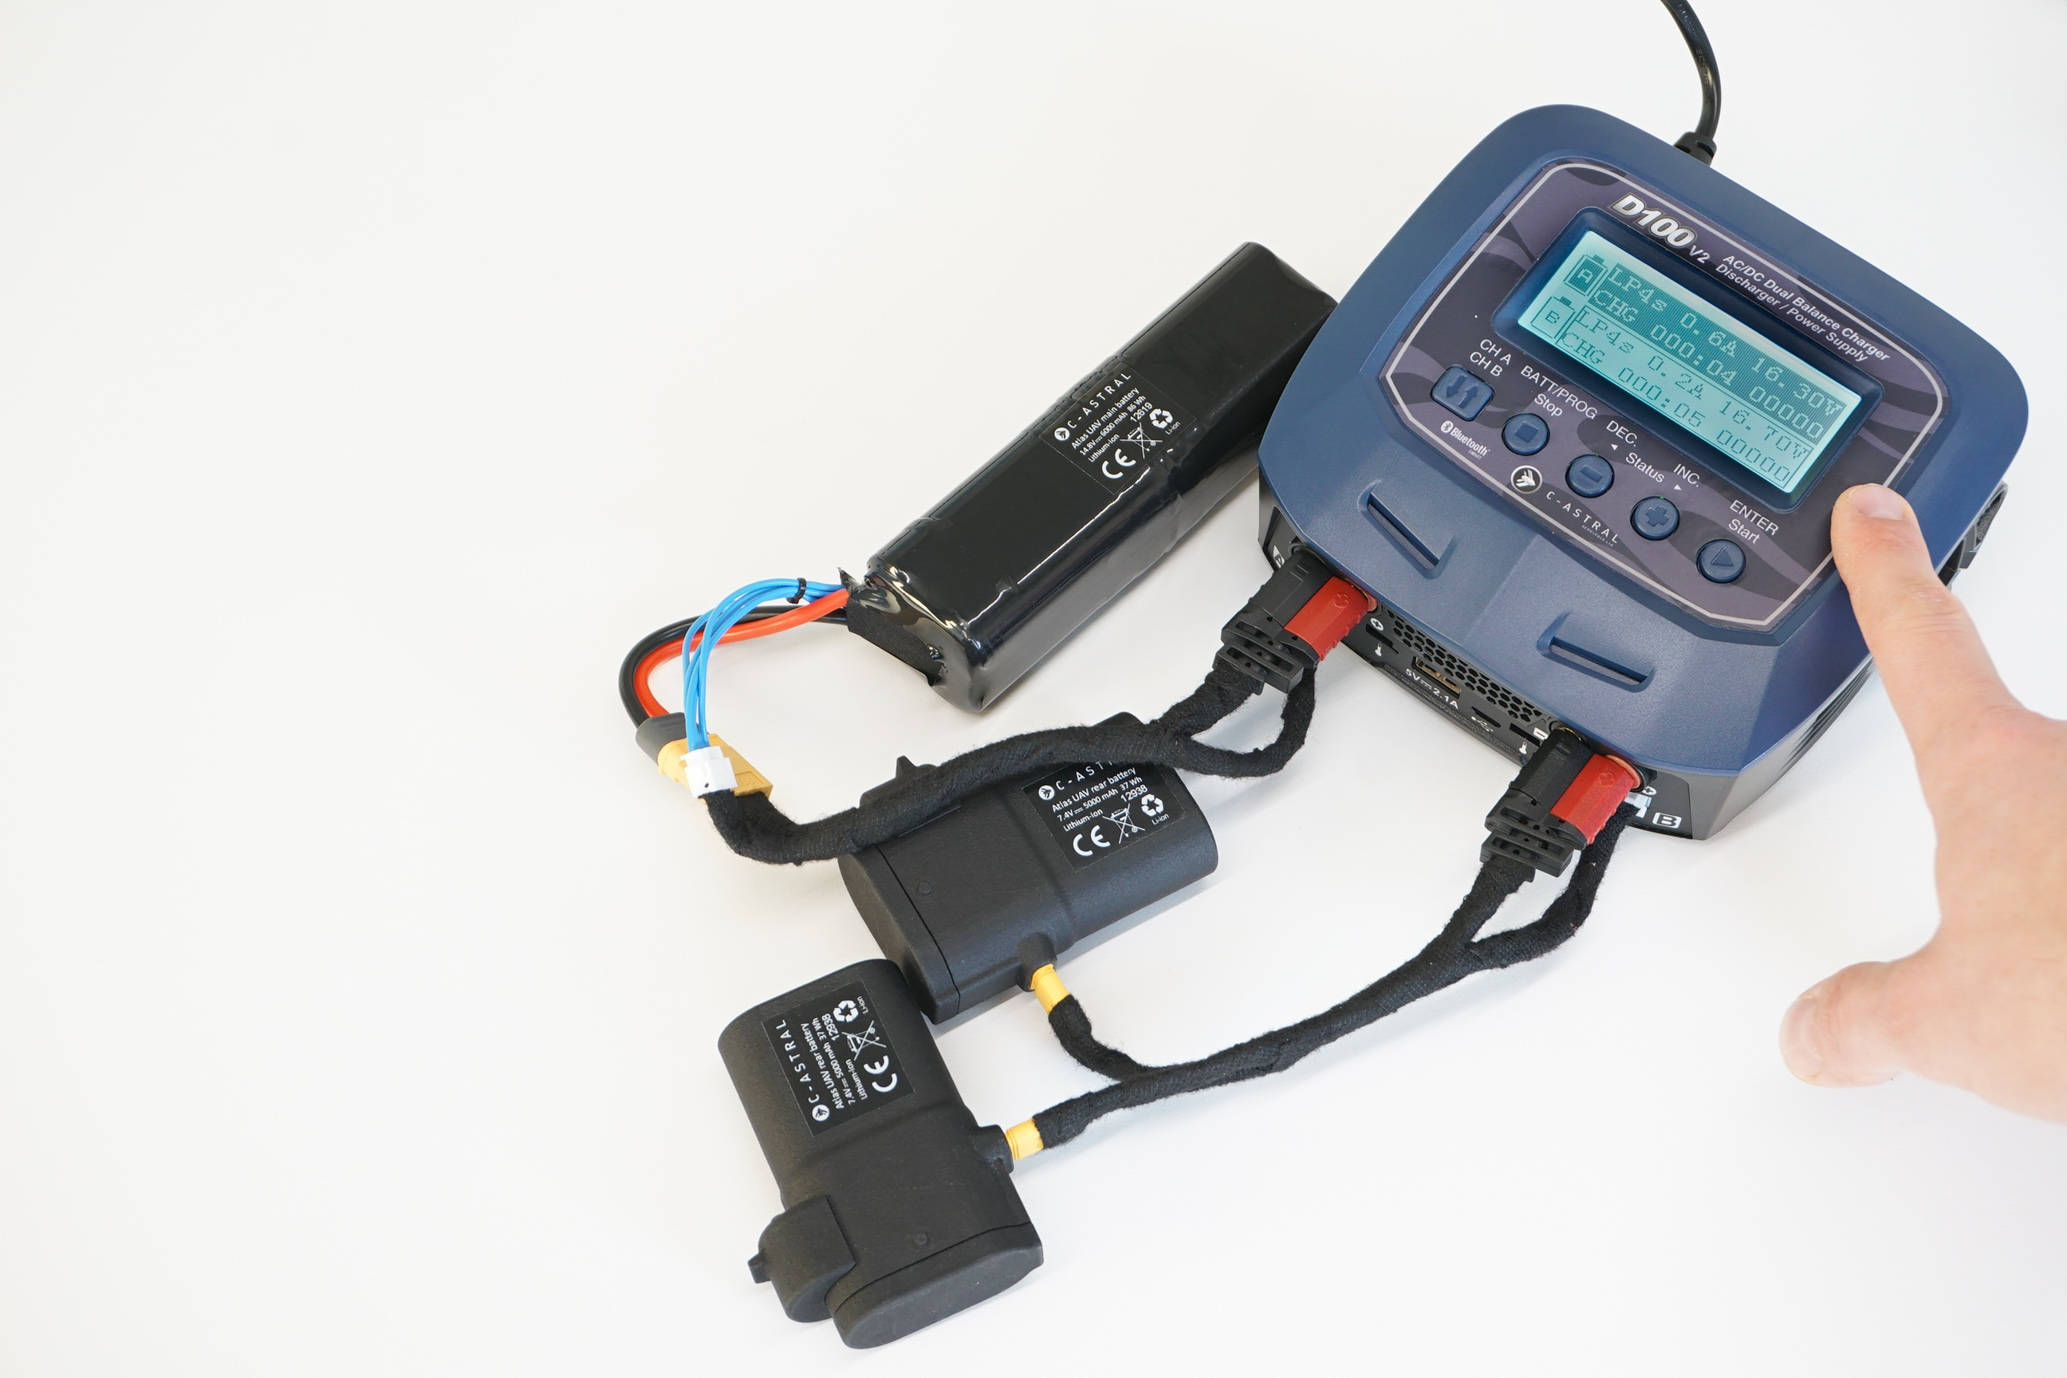 Charging UAV batteries - Starting to charge the battery. |
10. SET LIPO CHARGE PROGRAM Press Enter button to edit current and by pressing - and + buttons set it at 4A. Then confirm the selection by pressing ENTER. By pressing - and + buttons set the type to 14.8V to 4S setting. |
 Charging UAV batteries - Powering the charger. |
11. START CHARGING Press and hold ENTER button to start charging procedure. Changer will ask you to reconfirm the procedure. Press again ENTER button and the procedure will start. NOTE: Repeat the selection procedure also for the other channel (rear pair of batteries). |
 Charging UAV batteries - Monitoring the charging process. |
12. MONITORING CHARGING PROCEDURE During charge process, real-time status will be shown on the charging display. |
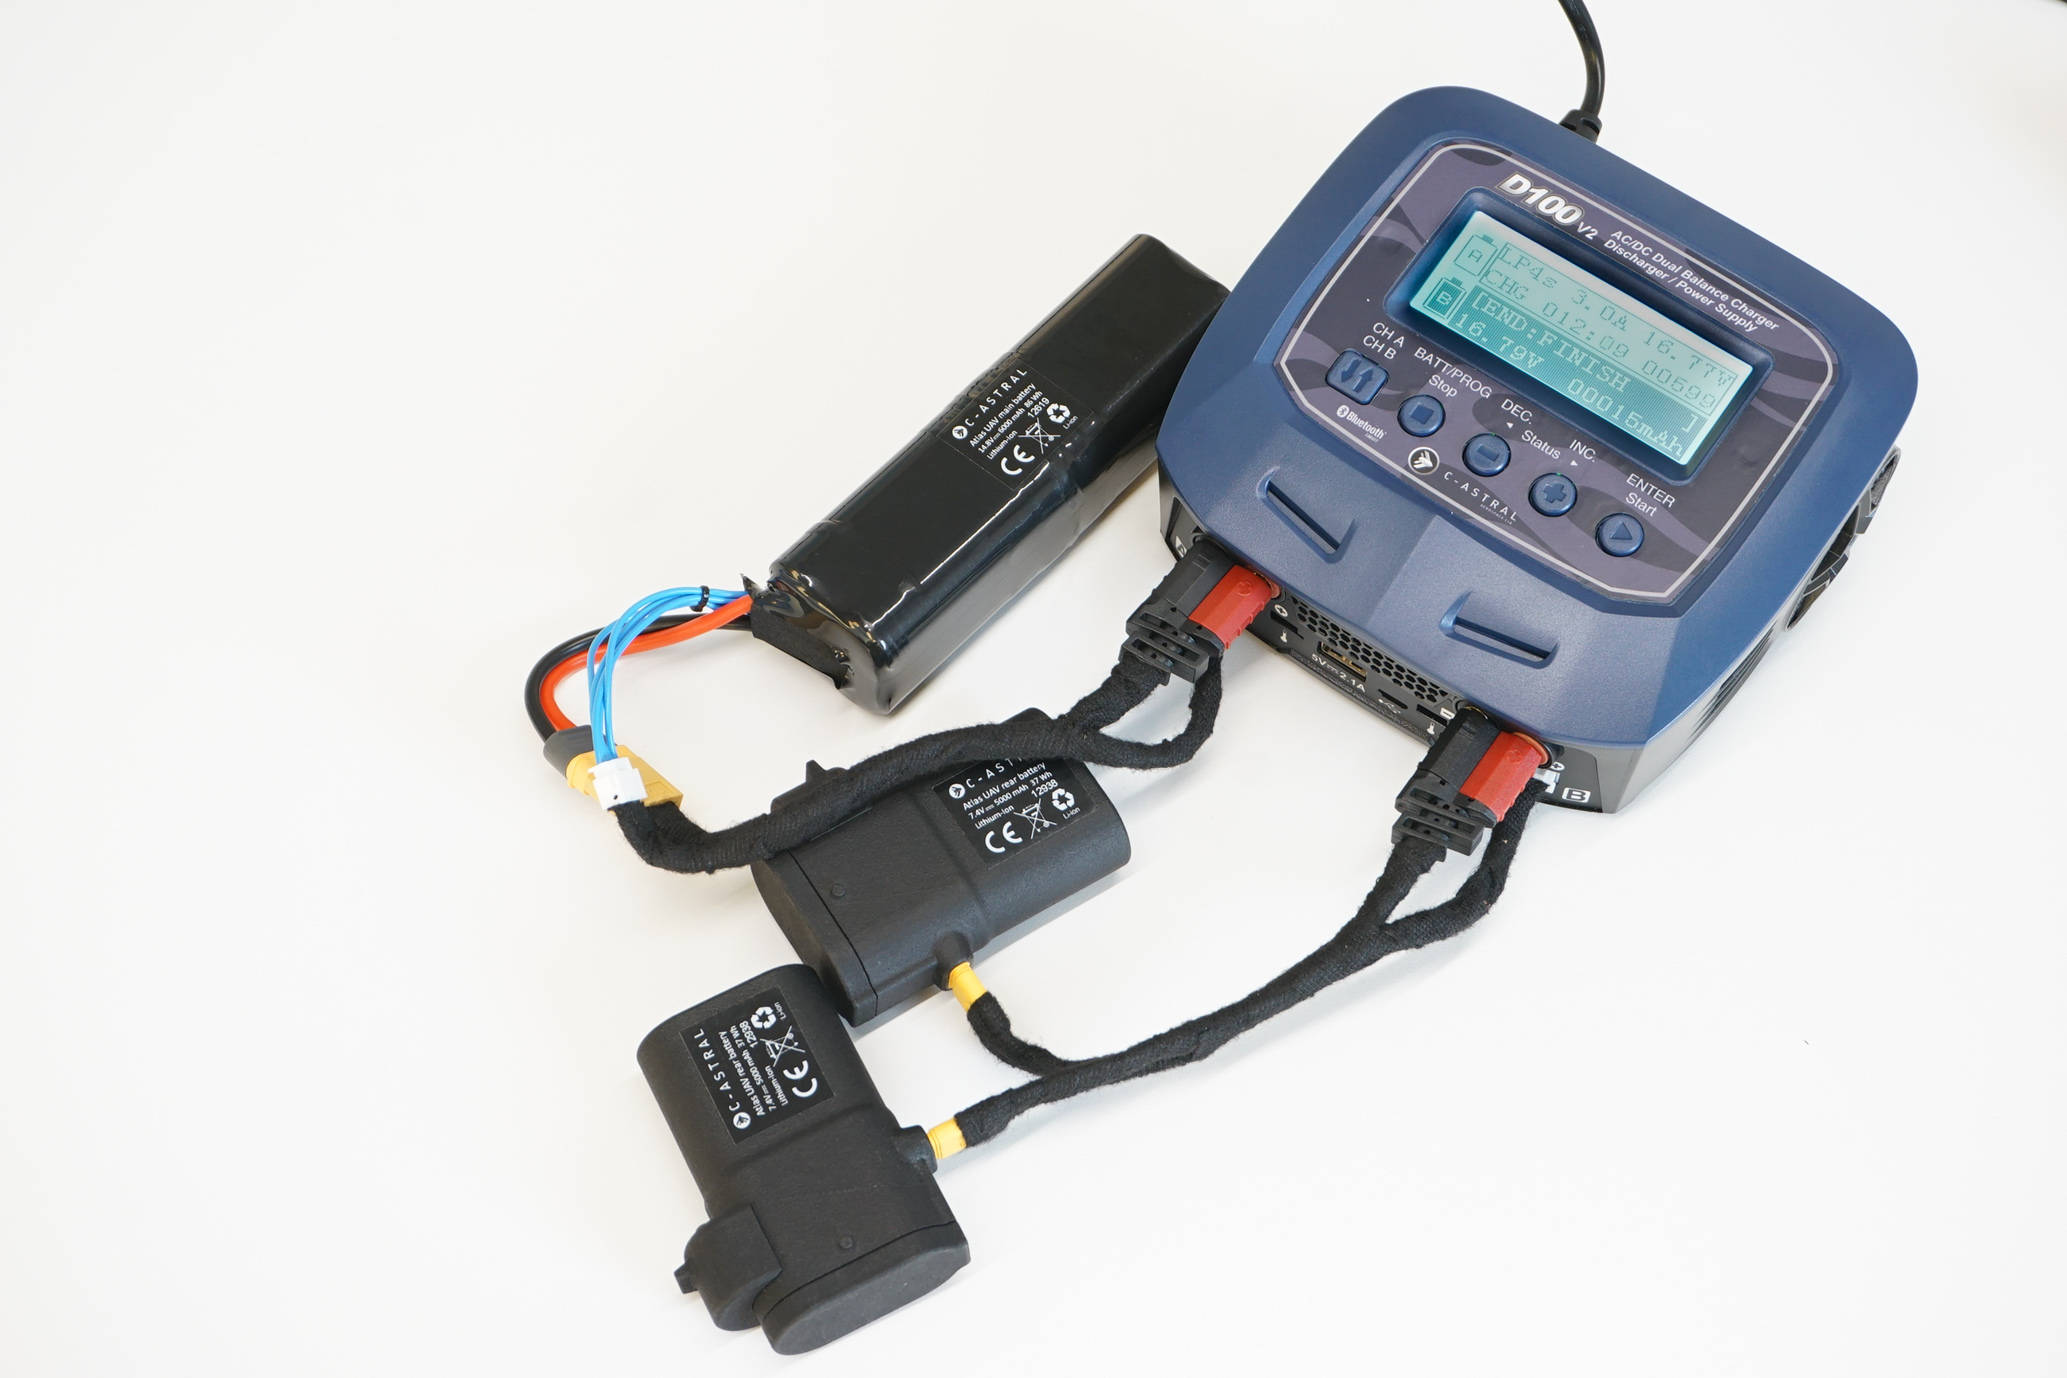 Charging UAV batteries - Charging completed. |
13. CHARGING COMPLETED After the charging process has completed, and the battery is fully charged, the screen will read “END: FINISH” and the charger will emit a ringing sound. The charger will also display battery voltage, charged capacity and elapsed time.
|
